
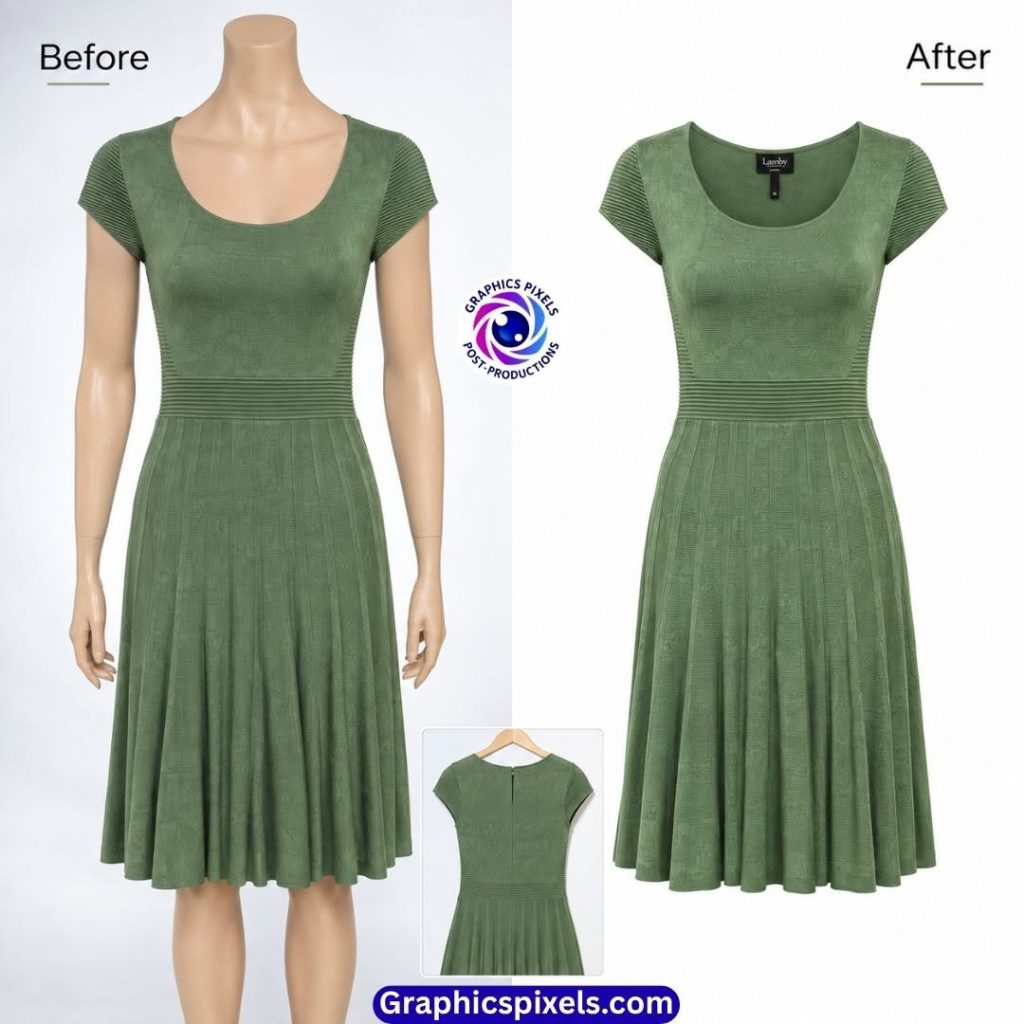
Neck joint editing is the step to make a picture of clothing on a mannequin into a clean ghost mannequin image. That’s what makes a shirt or jacket look full and natural and worn, with no mannequin or model in sight. In this guide, you’ll learn what neck joint editing is, what files you need, and how the process works from start to finish.
What is Neck Joint Editing?
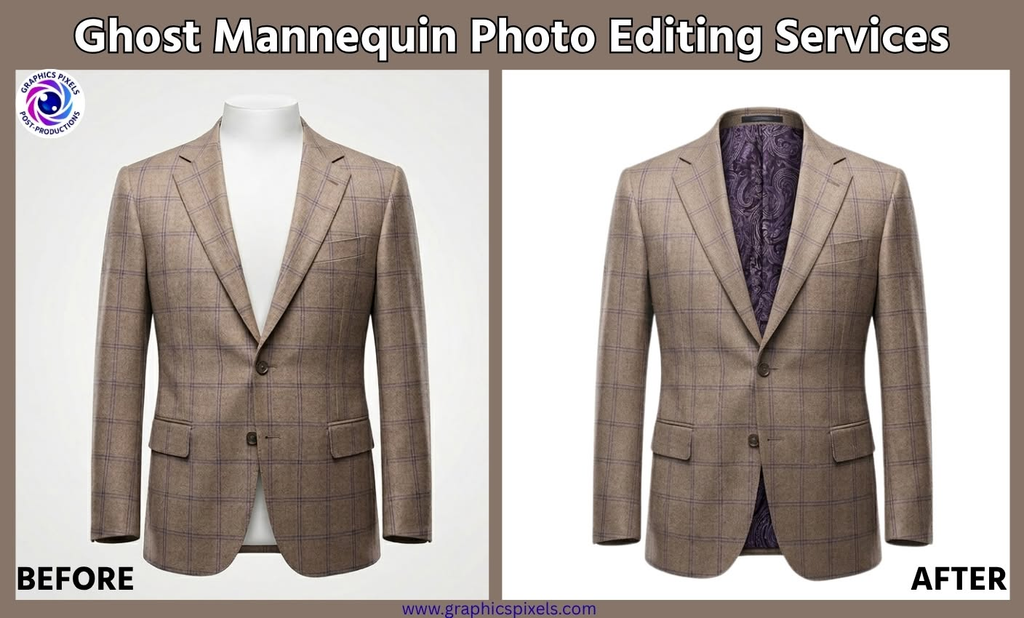
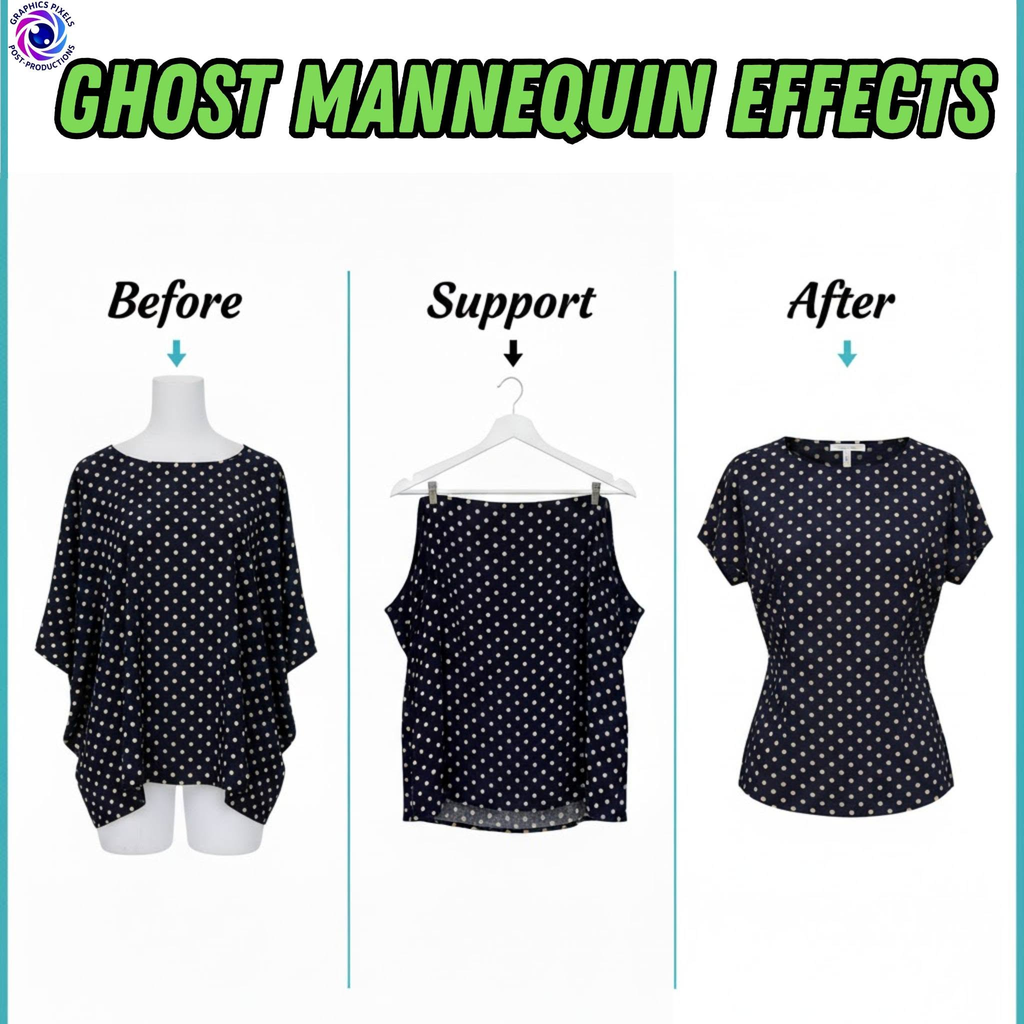
Neck joint editing, often called neck joint service or neck joining, is a post-production method used in ghost mannequin photography. The inner back of the collar, and occasionally other openings such as sleeves and hems, are then added back in with a separate photo after the mannequin is removed from the image. The two pictures are joined to give the garment a three dimensional, hollow and realistic look.
The name derives from the neck area, where the connection is most apparent and most essential. Otherwise the collar would look flat or empty, the garment would not look worn.
Why Neck Joint Editing Matters
- Natural form: It replicates the look of a real garment with depth and fullness.
- Product details: Shoppers can view the inside collar, labels, and lining, which signals quality.
- Professional look: Clean joins give a catalog a clean, consistent look.
- Less inquiries and doubts: A crisp and realistic graphic helps the customer grasp what they are buying.
What You Need Before You Begin
The quality of the neck joint editing is dependent on the quality of the source images. Generally, each product needs:
- The main shot: is the clothing on the mannequin, usually the front view.
- The inside shot: A photo of the inside back of the collar, taken from the same light, distance and angle.
- Optional additional shots: sleeve openings, hood interior or hem if you wish them to show.
- Clear file names: so each interior shot matches the correct main image, for example SKU123_front.jpg and SKU123_inside-neck.jpg.
- Editing software: is usually Adobe Photoshop, with a mouse or pen tablet for precise work.
The Step-by-Step Process
Step 1: Check the files
The editor opens the main shot and the interior shot together and confirms that they match: same lighting, same camera position, same color, and same garment shape. If something is blatantly incorrect, such as a missing interior picture or extremely different lighting, now is the spot to flag it.
Step 2: Clean the primary image
Before editing anything, the editor addresses evident flaws on the primary shot: dust, lint, and minor blemishes. Wrinkles may be smoothed and the garment contour tidied. Doing this first keeps later processes cleaner.
Step 3: Cut Out the Garment and Take off the Mannequin
The clothing is separated from the background and from the mannequin, usually by a manual path using the Pen tool. The neck, arms, clamps and any supports of the dummy are removed. In this regard, the attention to detail is important, especially concerning:
- The neckline
- Opening for sleeves
- The hem and any excess fabric
- The fine details are lace, mesh and fringe
Now the rough edges will subsequently show up as halos or jagged lines.
Step 4: Prepare the interior shot
The inner neck photo is carefully trimmed out to only show the visible inside rear of the collar. The editor removes background, mannequin pieces, and any superfluous material that doesn’t belong in the final image.
Step 5: Place the inside shot into the collar opening
The prepared internal picture is put into the neck opening of the main image. It’s resized, rotated, and positioned so it sits naturally behind the front of the collar. The editor confirms that:
- The inside collar follows the shape of the front opening
- Left and right sides look symmetrical
- The stitching and label (if shown) sit in believable positions
Step 6: Blend the edges and match the lighting
This step causes the join to be invisible. The editor:
- Adjusts brightness and contrast so the interior shot matches the outside
- Matches the shadow direction and color tone
- Softens edges so there is no visible seam
- Adds or refines natural shadows inside the collar to create depth
If the original lighting was consistent, this step is quick. If not, it takes significantly longer and the result may be less compelling.
Step 7: Shape and adjust the garment
The editor looks at the general form with the neck attached. Depending on the clothing, this may include:
- Straightening the sleeve and the shoulder
- Smoothing wrinkles and fabric bunching
- Fixing uneven hems
- Balancing left and right
- Reshaping regions where clips or pins were utilized
Care must be taken to retain the genuine texture and complexity of the cloth and not to make it look plastic.
Step 8: Color correction
The resultant image color is verified with the actual clothing and modified if required. Accurate color helps reduce returns, since customers receive what they saw on screen.
Step 9: Final quality check
The editor zooms in to 100% and checks:
- Edges for halos, jagged lines or leftover mannequin parts
- Neck join for wonky forms or noticeable seams
- Shadows for consistency
- Color fidelity and overall balance
- Whether the photograph matches the style of the rest of the catalog
Step 10: Build for your platform
The image is adjusted and saved to the format, backdrop and size required for your sales channel. Marketplace rules vary from time to time, so always check the platform’s current restrictions.
How Long Will It Take?
There’s no fixed time, because it depends on the garment, the quality of the source images, and the level of finishing required. Simple items with good photos are quicker. Complex garments, detailed fabrics, or mismatched lighting take longer. For large catalogs, many studios work in batches to keep results consistent.
Garments That Need Extra Care
- Sheer, lace, or mesh fabrics: the inside shows through, so cutouts and blending need extra care.
- Hoodies and hooded jackets: the hood interior may need its own inside shot.
- Structured collars and lapels: edges should be sharp and symmetrical.
- Dresses and tops with straps or open backs: make it harder to maintain your shape and symmetry naturally.
- Patterned or striped fabrics: the pattern should follow the garment’s shape, not look warped.
Common Neck Joint Problems and How They Happen
| Problem | Likely Cause |
| Visible seam around the collar | Lighting mismatch or hard edges not blended |
| Lopsided neckline | Camera moved between shots or poor alignment |
| Flat, empty collar | Missing inner shot or no shadow depth |
| Color mismatch inside the collar | White balance discrepancies between shots |
| Halos around the garment | Rough cutout or auto-selection |
| Warped patterns | Over-stretching or poor transformation |
Most of these come from the shot, not the editing, which is why strong source photographs matter so much. Our guide on how to shoot clothing for ghost mannequin editing covers the shooting side in full.
Can You Do It Yourself?
Yes, if you have a small catalog and are comfortable with Photoshop. Start with a few simple outfits, keep your lighting and camera location fixed, and practice the cutout and blending stages. For larger catalogs, seasonal launches, or tight deadlines, outsourcing is often faster and keeps the quality consistent across hundreds of products.
If you’d like a team to handle it, our ghost mannequin service includes professional neck joint editing with a free trial. Send a few images and review the results before ordering more.
Final Thoughts
Neck joint editing is a careful, multi-step process that combines clean cutouts, accurate alignment, light matching, and color correction. When the source photos are good and the editing is precise, the result is a natural-looking garment that helps your store look professional and trustworthy.
Frequently Asked Questions (FAQ)
Q: What is neck joint editing?
It is a post-production technique used in ghost mannequin photography, where the inside-neck image is merged with the main garment image after the mannequin has been removed to make the garment look hollow and worn.
Q: Is ghost mannequin editing the same as neck joint editing?
Neck joint editing is a key part of ghost mannequin editing. The full process also includes cutouts, retouching, shape correction, and color matching.
Q: Do I always need a separate inside shot?
It gives most natural result. Without it, the editor has to recreate the inside collar, which is harder and may look less convincing.
Q: Can neck joint editing fix a badly shot garment?
It can fix many small issues, but heavy wrinkles, mismatched lighting, or missing shots are much harder to correct, and a reshoot is sometimes better.
Q: How many images do I need per product?
At minimum, the main front shot and the inside neck shot. Add back, sleeve, or hood shots if you want those areas shown.
Q: What file format should I send?
High-resolution JPEG or RAW files work well. Check with your editor for their preferred format.