
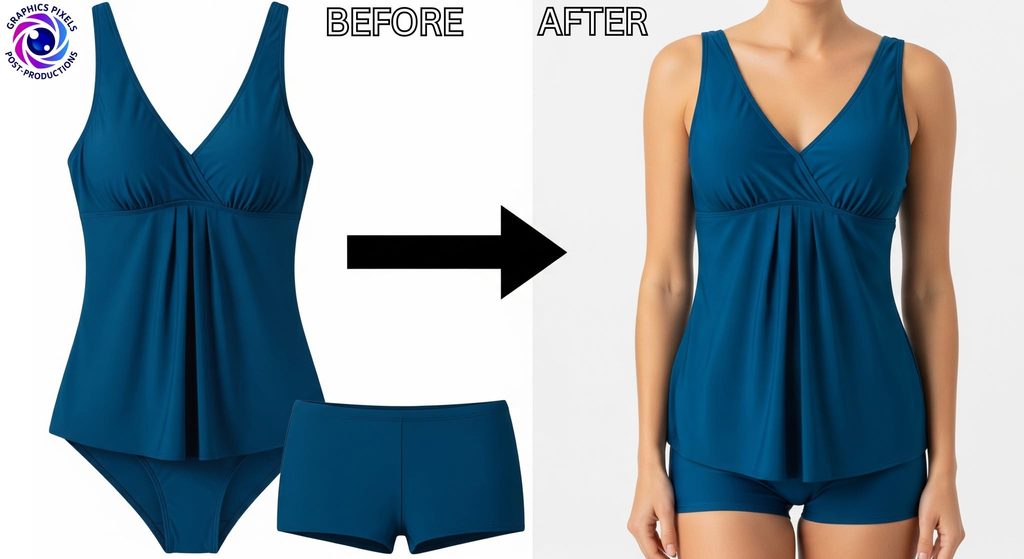
Good ghost mannequin shots are done in the studio, not Photoshop. Editing can erase the mannequin and rebuild the neckline, but it can’t fix a badly styled garment or mismatched lighting. If you shoot clean and consistent, then editing is faster, cheaper and the end product looks much more natural. In this guide we will learn how to shoot clothing the right way before it goes to editing.
Why the Shoot is Important
In ghost mannequin editing, the editor blends multiple photos into one: the garment on the mannequin, and separate shots of the inside areas. If those photos don’t match in light, angle or position, the final image will show it. The good shooting habits will help you out:
- A better, smoother collar and sleeve opening.
- No more reshoots, no more long revision rounds.
- Whole catalog consistency.
- Save time on editing, which is important when you have hundreds of products.
What You’ll Require
- A ghost mannequin: with removable neck, arms and sometimes lower parts. This allows you to photograph the inside of the garment cleanly.
- Camera and lens: Use a standard lens on a DSLR or mirrorless camera. Use the same lens throughout the collection.
- A sturdy tripod: so the camera doesn’t move between shots.
- Gentle, even light: Two or more soft boxes, or a light tent for small things.
- A flat background: White or light gray is the most easy to cut out.
- Styling tools: steamer or iron, clips, pins, clamps, double sided tape, lint roller.
- A tethered setup (optional): Shooting with a computer allows you to check focus and alignment as you go.
Step 1: Prepare the Garment
The biggest time saver is preparation.
- Iron or steam your clothes. The biggest reason for extra retouching is wrinkles.
- Remove tags, stickers and loose threads. Do not save care labels unless you intend to display them.
- Roll dark clothes with a lint roller.
- Check the garment for any defects such as stains or loose seams and decide whether to mend or retouch.
Step 2: Dress the Mannequin
- Select the appropriate size mannequin for the garment to ensure a natural fit without stretching or sagging.
- Then lay the garment smoothly and evenly over the form, smoothing the shoulders, collar, sleeves and hem.
- Take up any excess fabric with clips or pins in the back. This gives a snug and smooth front.
- Keep buttons, zips and drawstrings neat and symmetrical.
- Center the garment on the dummy to maintain a balanced final image.
A good rule of thumb: If it looks wrong to your eyes on the mannequin, it will look wrong in the final image.
Step 3: Place the Lights
Most ghost mannequin shoots go wrong with lighting.
- Soft diffused light will help avoid hard shadows and hot spots.
- Place lights on each side at the same angles to evenly illuminate the garment.
- Make sure the background is evenly lit and clean so that the edges can be easily separated from it.
- Don’t change your lighting from outside to inside shots. If the light changes the neck will appear to be a separate piece.
- Avoid mixed light sources, such as window light combined with studio lights.
- Ensure the lighting setup is the same for the entire collection, so it looks uniform.
Step 4: Place the Camera
- Place the camera on a tripod at half the height of the garment, so that the lens is about at the center of the garment.
- For each product distance and angle should be the same.
- Avoid wide-angle lenses that distort the garment’s proportions. A moderate focal length (often something like 50-85mm on a full frame camera) is a common choice, though your exact needs depend on your studio space.
- Leave some space around the garment so the editor has room for cutting and cropping.
- Mark the floor or use a fixed position for the mannequin so it returns to the same spot each time.
Step 5: Camera Settings
The exact settings differ depending on your equipment and lighting, but these principles apply:
- Shoot in RAW if possible, to keep more detail and flexibility for color correction.
- Keep the aperture small to medium (f/8 to f/11) to keep the whole garment in focus.
- Use a low ISO to reduce noise.
- Use a gray card or set a manual white balance for accurate and consistent colors.
- Focus carefully on the garment’s center or key detail, and check sharpness at 100% zoom.
Step 6: Capture the Main Shots
Get the main product images with the model wearing the item.
- Front view is the essential shot.
- Back view of your store if it is shown.
- Side or detail shots if needed (pockets, collars, closures, prints, etc.).
- Take a test shot first and check lighting, color, and straightness before shooting the whole batch.
Step 7: Shoot the Interiors
This is the step that makes ghost mannequin editing possible.
- Remove the neck piece of the mannequin, or take the garment off and reposition it so the inside back of the collar is visible.
- Take a photo of inside of neckline; same lighting, distance and angle as main shot.
- Shoot any other openings you want us to see, like sleeve openings, the inside of a hood or the hem on certain styles.
- Maintain the garment’s shape so the inside shot matches the front shot.
- Label or name your files clearly so the editor knows which inside shot belongs to which product. Avoid confusion with simple naming, e.g., SKU123_front.jpg and SKU123_inside-neck.jpg.
Step 8: Review Files Before Sending
Before sending it off to be edited, review each set:
- Is the garment even, centered and symmetrical?
- Does the lighting match between the front and inside shots?
- Is the product sharp across the board?
- Are the colors as shown on the garment?
- Are the file names clear and matched to the correct SKU?
- Any missing? Neck inside? View from the back?
Fixing problems at this stage is much cheaper than fixing them in editing or reshooting later.
What NOT To Do
- No interior shots: The neckline will look flat or empty.
- Changing the camera or light in between takes: The pieces won’t blend well.
- Poor styling: It takes time to smooth deep creases and crooked seams.
- Wrong mannequin size: The clothes stretch out or bag out and the shape doesn’t look natural.
- Crowded backgrounds or shadows near edges: This makes cutouts less clean and harder.
- Inaccurate color settings: Edited images then are not the real product.
- Messy file naming: Editors waste time matching files, and mistakes slip through.
Special Tips by Garment Type
- Shirts and blouses: Stand the collar neatly and line up the buttons.
- T-shirts & hoodies: Be careful with the neckline and show the inside of the hood or collar if required.
- Jackets and blazers: Keep the lapels flat and show the lining if it’s a selling point.
- Dresses: Use proper form and secure waist and straps so that the shape is natural.
- Sheer or lace fabrics: Use a plain background that contrasts with the fabric and tell your editor in advance, as these require extra care in cutouts.
Shoot It Yourself, Edit It Like The Pros
There are many photographers and brands that shoot in-house but outsource the editing because neck joint work, cutouts, and color matching are repetitive and time consuming. The faster and cleaner the results the better the files you are sending.
If you would like a team to do the editing for you, our ghost mannequin service has a free trial. Send a few images and check the quality before ordering more.
Concluding Remarks
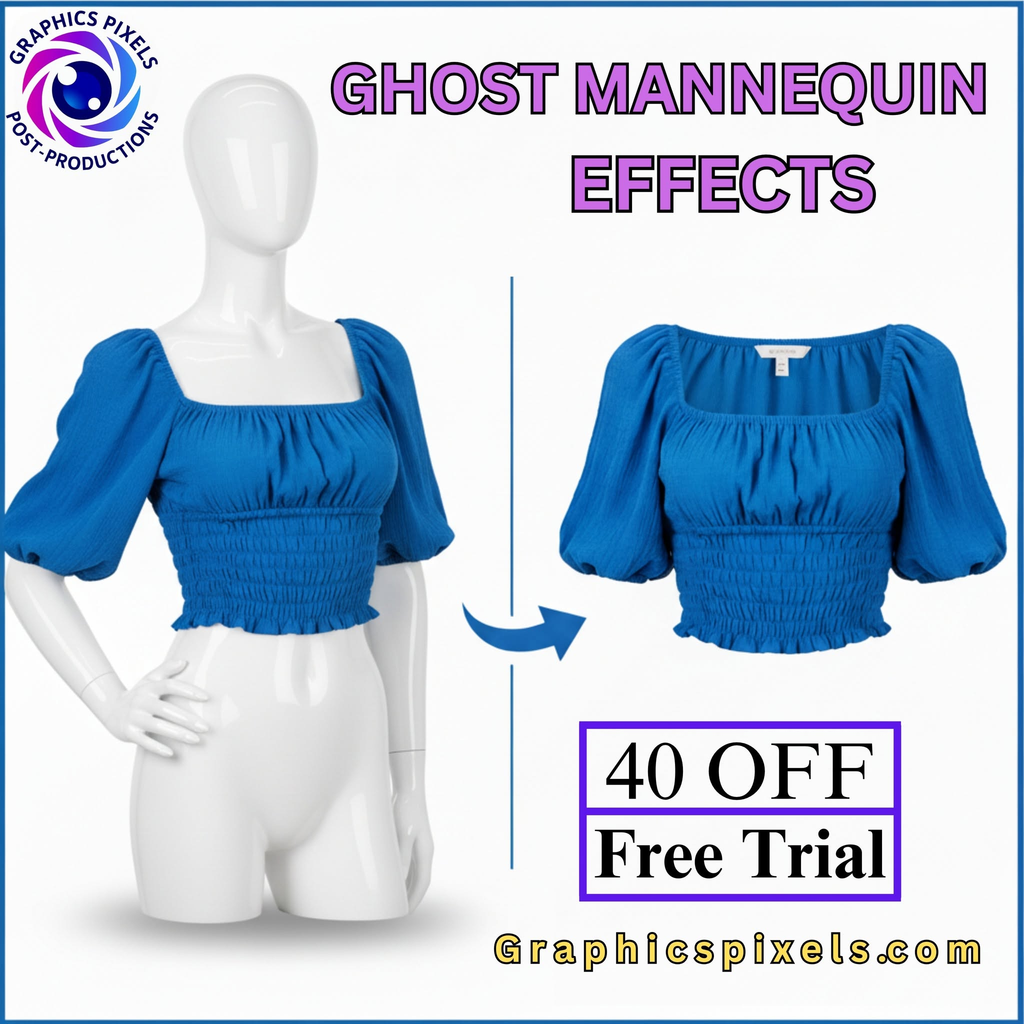
To get good ghost mannequin results you need a clean shoot: well styled garments, consistent lighting, a fixed camera position, and clear inside shots. Follow these steps and you will edit faster, your images will look natural and your whole catalog will feel professional and consistent.
Frequently Asked Questions (FAQ)
Q: Do I have to provide inside shots for ghost mannequin editing?
Not always, but they give the most natural-looking neckline and openings. If they’re not there, the editor has to recreate the area, and that’s harder to pull off convincingly.
Q: Any mannequin will do, right?
You can use a standard mannequin but if it has removable parts it is much easier to get at the inside areas.
Q: What is the best background to shoot?
A plain white or light grey background is usually easiest to work with, since it makes cutouts cleaner. Check your sales platform’s rules on the final image.
Q: Should I shoot in RAW or JPEG?
RAW is preferred if your workflow allows as it gives you more flexibility to correct color and exposure.
Q: How many images do I need to send per product?
At minimum, the main front shot and the inside neck shot. Add back any detail shots your store requires.