
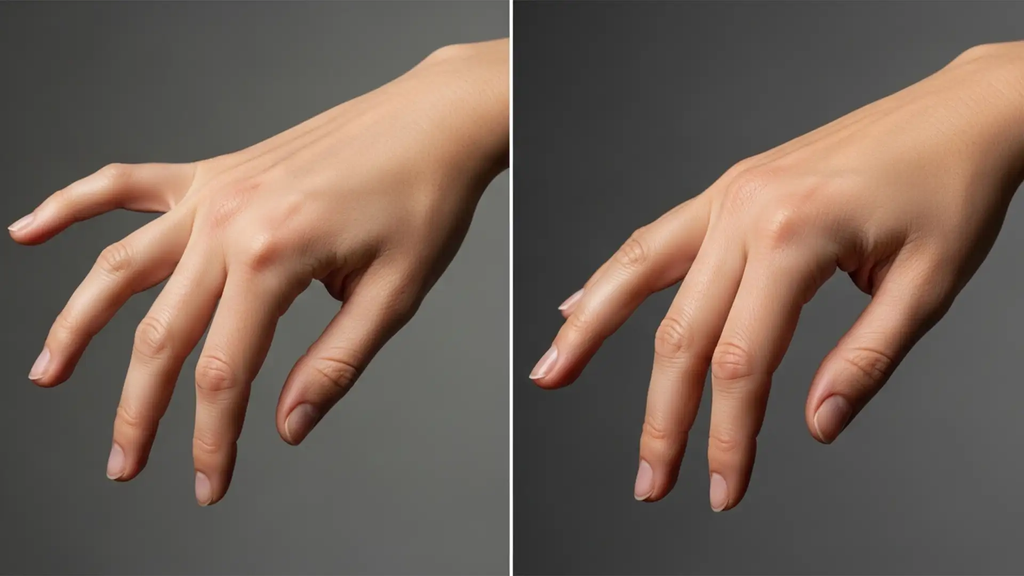
Generative AI image platforms like Midjourney, DALL-E and Stable Diffusion have transformed e-commerce imagery and content creation.
However they also tend to produce predictable artefacts: extra or misshaped fingers, distorted facial anatomy, inconsistent skin textures, illegible or distorted text.
Changing the prompt to fix these very particular problems usually doesn’t help and often makes all the things the AI did well even worse. Best is a hybrid workflow that leverages human capabilities in Adobe Photoshop to directly isolate and fix errors in AI output.
How to remove AI image artefacts in Photoshop?
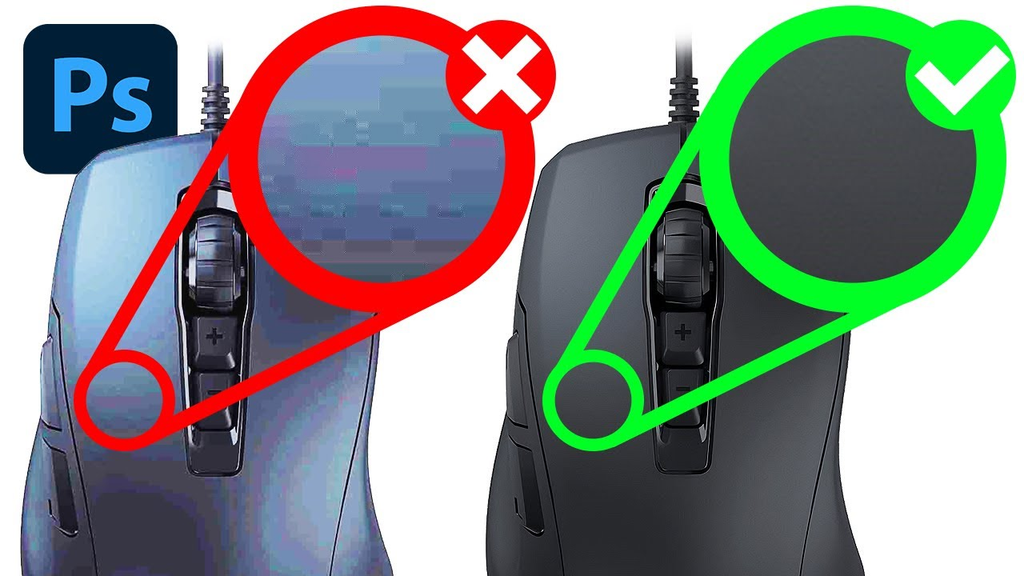
TL;DR: Don’t make us re-generate the whole prompt to fix AI image artefacts. Or use the Pen Tool or Layer Masks in Photoshop to isolate the problem area. Manual cloning, Liquify or source blending to correct hand & finger anatomy. Frequency Separation for Skin Imperfections Balancing. Broken text? Clean vector paths or type to fix.
1. Fixing Extra Fingers and Deformed Hands
The 3D structure of the hand is complex and can be posed in many ways, making it difficult for AI models to deal with the geometry of the hand.
- Anatomy Isolation: Use the Pen Tool (P) or Lasso Tool (L) to select the additional digit or deformed hand shape.
- Strip Excess Digits: Either use Generative Fill with a prompt like “remove extra finger” or you can manually brush out the additional digit with the Clone Stamp Tool (S) and Healing Brush (J).
- Reconstruction of Joint Structure: Use the Forward Warp Tool in the Liquify filter (Shift + Ctrl + X) to push the fingers to natural proportions. Curves, joints, changed, knuckles.
- Blend Hands: If hands are badly distorted, use a stock or good reference image and composite in a clean hand. Lighting colour correction with curves and colour balance.
2. Reconstruction of facial inadequacy and skin loss
Common issues in AI photos include plastic-like skin texture, asymmetrical eyes, or fuzzy outlines of facial features.
- Frequency Separation: Separate the image into high frequency (texture/detail) and low frequency (color/tone) layers.
- Texture Fix: Use the Mixer Brush to correct the blotchy skin tones of the AI on the Low-Frequency layer, but leave the realistic pores on the High-Frequency layer alone.
- Eye & Feature Alignment: Use the Marquee Tool to copy misaligned eyes to their own layers. Adjustable symmetry of face. Adjustable opacity and angle.
- Dodge & Burn: Dodge & Burn sparingly for natural depth, highlights on the cheekbones & jawline. Avoid the flat effect that is often AI.
3. Fixing Distortion/Unreadable AI Text
In generative AI, “text is just pretty shapes. These are not actual fonts.” So you get nonsense letters and mangled logos.
- Hide Ugly Text: Use a layer mask to clean up the area where the garbled AI text sits.
- Recover Background: Recover the clean background behind the text using Content Aware Fill or Patch Tool.
- Insert Replacement: Find or replicate the font style of the original, insert the right text using the Type Tool (T) and add the relevant layer styles (inner shadows, gradients or noise).
- Alignment of Perspective: Match the product curves/angles on the package (Edit > Transform > Perspective or Wrap).
E-commerce & Creators AI Artefact Editor Checklist
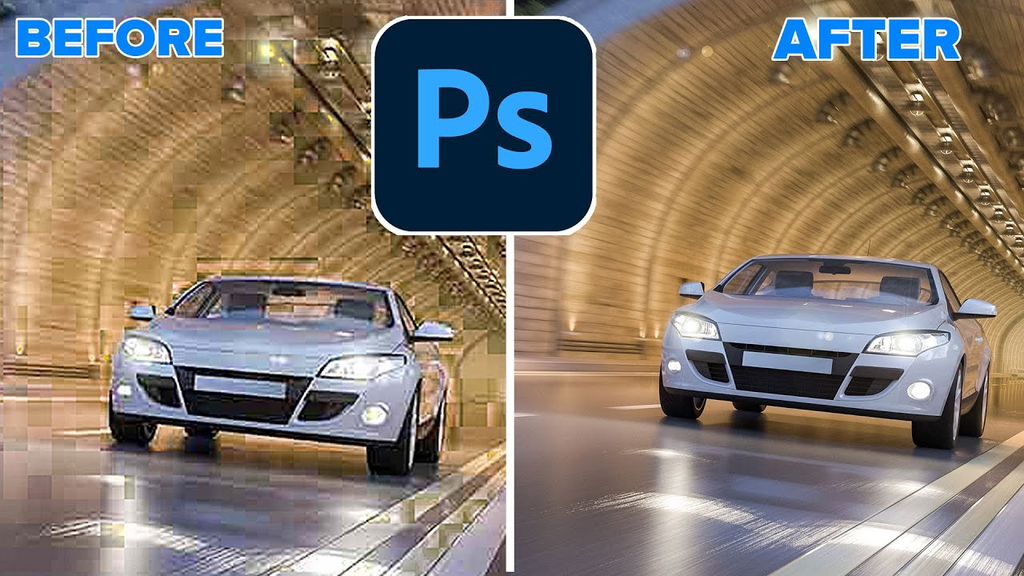
| Artifact Type | Typical AI Problem | Photoshop Fix hack top |
| Extra Digits | 6+ digits, fused joints | Pen Tool Isolation + Clone Stamp / Liquify |
| Skin Texture | Unrealistic blur, synthetic look | Mixer brush + Frequency separation |
| Deformed text | Broken logos, letters that can’t be read | Vector Type Overlay + Content Aware Fill |
| Edge Artefacts | Hazy edges, halos, floating pixels | Defringe + Clipping Path (Hand Pen Tool) |
AI Creation & Photoshop Integration
AI creation speed + precise hand photoshop retouchin = high converting, commercial ready assets for Amazon, Shopify, marketing campaigns.