
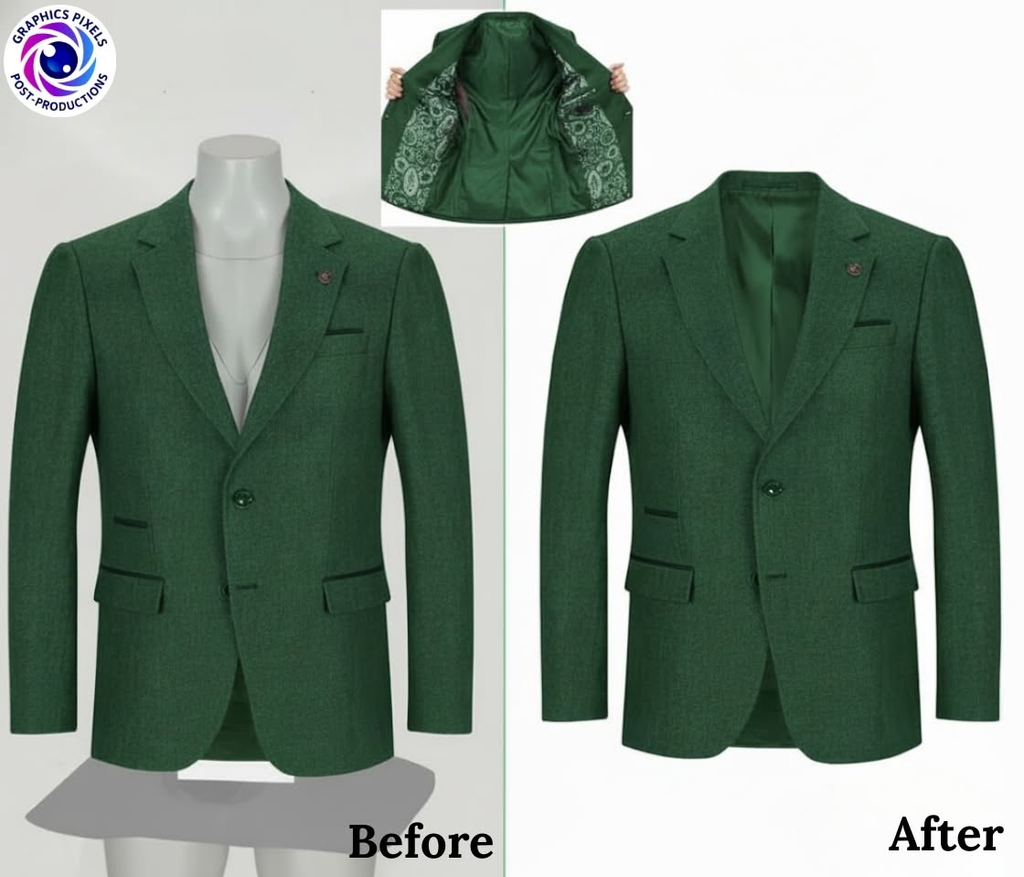
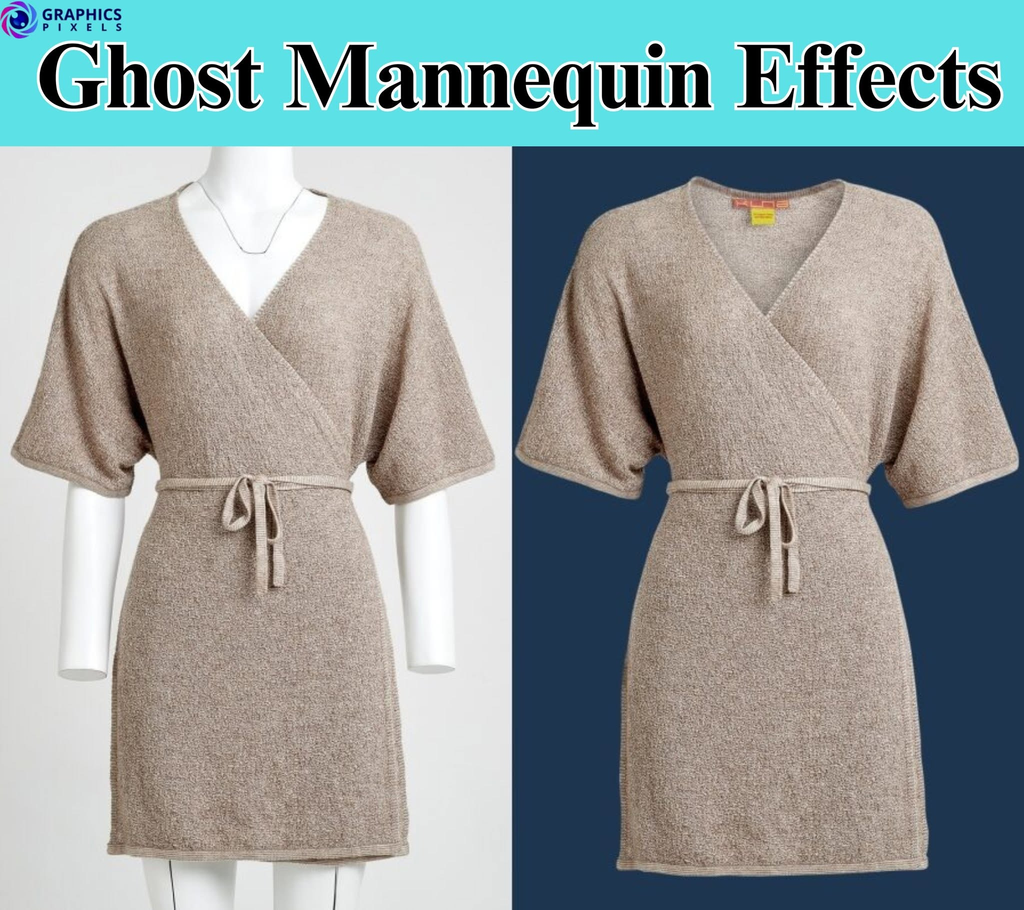
The ghost mannequin images can give a clothing store a polished and trustworthy look. But when done poorly, they do the opposite. A warped collar, a visible shadow, or a color that isn’t the real thing makes shoppers hesitate, and hesitation means lost sales or returns. In this guide, we’ll cover the most common ghost mannequin mistakes, why they hurt, and how to fix them.
Why Little Mistakes Matter
Online shoppers decide on a product in seconds. They can’t touch the fabric, so they rely on the image to decide whether the item is well made and matches what they expect. Even if the product is good, small flaws in the picture can be a sign that the seller is not caring. Clean consistent images inspire confidence, sloppy images raise doubts.
Mistake 1: A Flat or Empty Neckline
- What it looks like: The inside of the collar is missing or is a solid patch so the garment looks hollow in the wrong way.
- Why it’s painful: The shape looks unnatural, and the shopper can’t see the quality of the collar, lining, or construction.
- How to fix: Shoot the inside neck separately and then join it back in the edit. Take the pictures in the same light and angle so they match.
Mistake 2: Crooked or Uneven Neck Joints
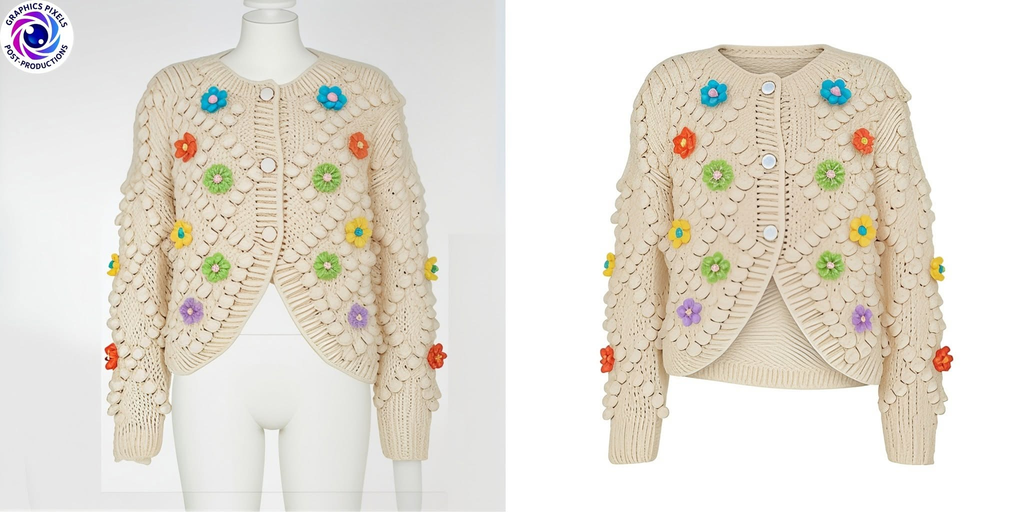
- What it looks like: The collar is uneven, the inside back is not lined up, or you can see a visible seam where two images have been joined.
- Why it’s painful: It looks edited and unprofessional, and it can make the garment seem badly cut or poorly made.
- How to solve it: Keep the camera locked off between shots, make the collar symmetrical and be careful with alignment and edge blending in post.
Mistake 3: Poor Styling and Wrinkles
- How it looks: Creases at the chest, sleeves that are twisted, uneven hems or fabric that bunches up at the back.
- Why it stings: Shoppers may think the garment is poorly fitted or of poor quality.
- How to fix it: Iron or steam each piece. Use clips or pins at the back to smooth the front. Straighten seams, buttons and hems before each shot.
Mistake 4: Lighting is Inconsistent
- What it looks like: The interior shot is brighter or darker than the exterior shot, shadows are falling in different directions, or the color shifts across the garment.
- Why it hurts: The picture looks like it’s been pieced together and the garment can look like it’s made from mismatched pieces.
- How to fix this? Use the same soft, even lighting setup throughout the shoot. Don’t mix window light and studio lights. Don’t switch between outside and inside lights.
Mistake 5: Inconsistent or Incorrect Colors
- What it looks like: The picture of the edited product is a different shade than the real product, or the colors of the garment are different in different photos.
- Why it hurts: This is one of the biggest reasons for returns and bad reviews because the customer gets something that is not what they saw.
- How to fix this: Use a manual white balance or gray card, shoot in RAW if you can and compare the final image with the real garment on a calibrated screen.
Mistake 6: Jagged Cutouts and Halos
- What it looks like: Jagged edges, a pale outline around the garment, or leftover bits of the mannequin or clamps.
- Why it hurts: It looks cheap, and the problem becomes obvious on larger screens or when customers zoom in.
- How to fix this: Take care with manual cutouts, especially around lace, mesh, fringe and fine edges. Automatic tools alone often leave rough results. Check images at 100% zoom before shipping.
Mistake 7: Exposed Mannequin Parts, Clamps or Shadows
- What it looks like: A bit of the mannequin’s neck, a clip on the back or a dark shadow underneath the garment that shouldn’t be there.
- Why it hurts: It destroys the illusion and takes away from the product.
- How to fix it: Look closely at each picture for leftover parts. Use soft lighting to reduce harsh shadows, and clean up the edges during editing.
Mistake 8: Poor Mannequin Size/Shape
- What it looks like: The garment is stretched too tight, baggy, or hangs awkwardly on the shoulders.
- Why it hurts: The shape is unnatural and shoppers may not know how the item will really fit.
- How to repair it: Choose a mannequin size that fits the garment, and fix the garment so that the shoulders and waist are sitting properly.
Mistake 9: Over-Editing and Smoothing
- What it looks like: Fabric texture disappears, patterns look warped, or the garment looks plastic and unreal.
- Why it’s painful: The customer loses the feel of the material, and the product becomes less trustworthy.
- How to fix it: Remove distractions without erasing the natural texture. Leave seams, stitching and details of fabric visible.
Mistake 10: Inconsistent Catalog Style
- What it looks like: The products are big and small, the angles are different, the backgrounds are different and the spacing is uneven.
- Why it stings: The store looks disorganized, and the brand feels less professional.
- How to fix it: Basic style guide for image size, margins, angle, background color and file naming. Apply it to every product.
Mistake 11: Ignoring Platform Requirements
- What it looks like: Images that are too large or too small, backgrounds that don’t work, or text and graphics that the platform won’t allow.
- Why it stings: Listings can be suppressed, rejected or not look good in the search results.
- How to fix it: Check the current image rules of each marketplace or store platform before exporting, since requirements change from time to time.
Mistake 12: Poor File Management
- What it looks like: Inside shots are mixed up with the wrong products, files are named inconsistently, and editors have to guess which images belong together.
- Why it hurts: It leads to errors, slow turnaround, and sometimes the wrong neck joined to the wrong garment.
- How to fix it: Use a clear naming system, such as SKU123_front.jpg and SKU123_inside-neck.jpg, and keep each product’s files together.
Quick Checklist Before You Publish
- Is the neckline natural and symmetrical?
- Is the garment smooth, with minimal wrinkles?
- Does the lighting match across all shots?
- Do the colors match the real product?
- Are edges clean, with no halos or leftover parts?
- Do images follow the same size, angle, and background across the catalog?
- Do they meet the platform’s current image requirements?
Fix It Before It Costs You
If you notice these issues across your catalog, the fix usually isn’t expensive. Better styling, steadier lighting, and careful editing solve most of them. When volume is high or time is short, many stores outsource the editing so they can keep quality consistent without slowing down.
Our ghost mannequin service offers a free trial. Send a few images and compare the results before placing a larger order.
Final Thoughts
Ghost mannequin photography only helps sales when it looks clean, natural, and accurate. Avoid the common mistakes above and your images will build trust, show your products at their best, and help customers buy with confidence.
Frequently Asked Questions (FAQ)
Q: What is the most common ghost mannequin mistake?
A badly joined or empty neckline. It’s the first thing shoppers notice, and it makes the garment look unnatural.
Q: Can bad ghost mannequin images reduce sales?
They can. Poor images may make the product look low quality and increase hesitation and returns, though the effect varies by store and product.
Q: Can editing fix a badly shot garment?
Some problems, like minor wrinkles, can be fixed. But heavy creasing, mismatched lighting, or missing inside shots are much harder, and reshooting is often better.
Q: Do I need to reshoot if the neck joint looks wrong?
Not always. If you have the inside shot and the lighting matches, it can often be corrected in editing. If the shots don’t match, a reshoot may be needed.
Q: How can I keep my catalog consistent?
Use the same camera position, lighting, background, and editing style for every product, and keep a short style guide for your team.