
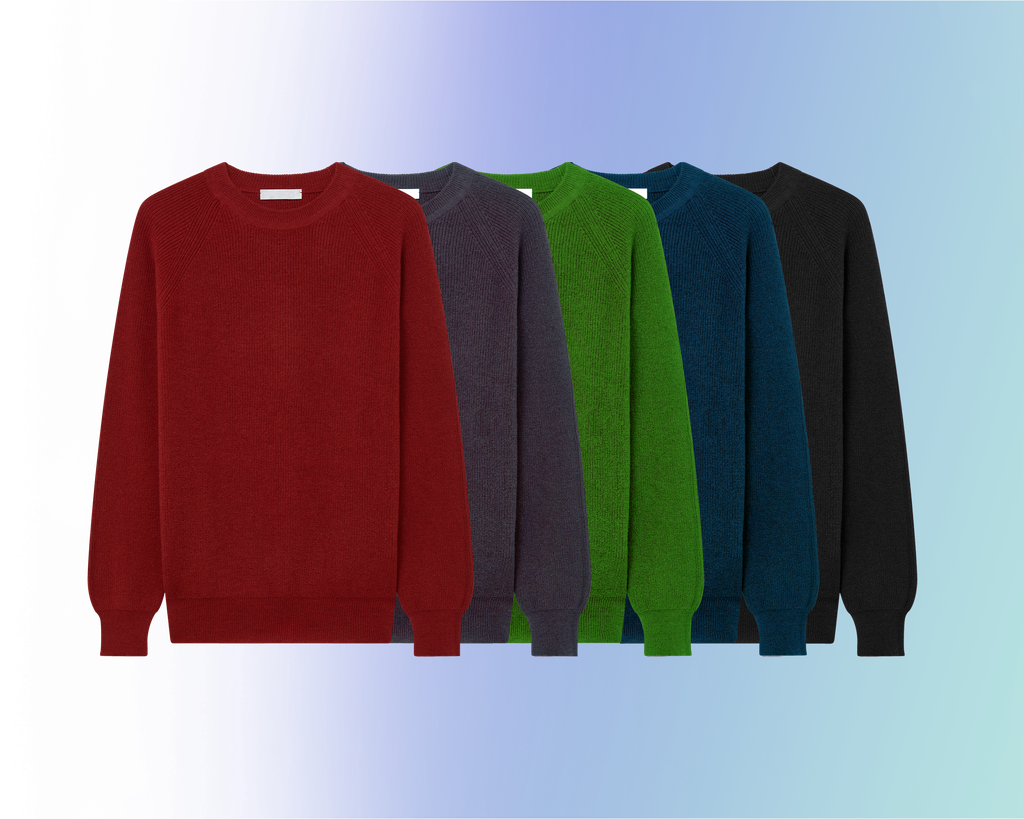
Ghost mannequin editing can only be described in words so much. The simplest way to tell is to see what has changed from the raw photo to the finished image. Below are before and after samples across typical garment kinds, with notes on what the editor did in each case, and what to look for when rating quality.
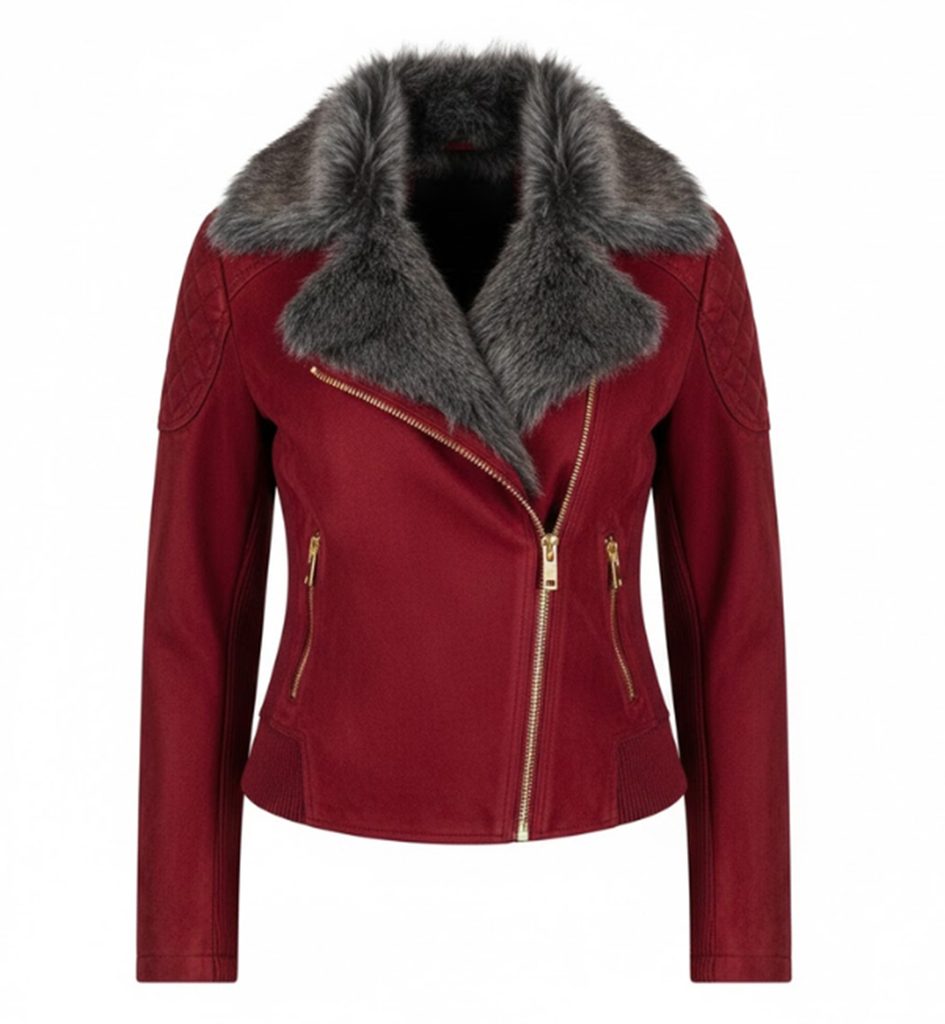
What is Mannequin Editing Ghost?
Typical editing involves some or all of the following steps:
- Mannequin and clamp removal: The mannequin, support and pins are removed from the picture.
- Neck joint: An additional shot is inserted into the collar to create a hollow and natural aspect to the garment.
- Shape correction: Shoulders, sleeves and hems are straightened out and balanced.
- Wrinkle and dust cleanup: Distractions are kept to a minimum while retaining the true fabric texture.
- Color correction: Correct the color according to the real garment.
- Background and finish: The garment is placed on a clean background of the appropriate size.
Example 1: Dress Shirts
- Before: Neck piece and clamps on the back before shirt on mannequin.
- After: [IMAGE: clean ghost mannequin shirt, white backdrop after]
What the difference:
- Mannequin with neck and back clamps removed.
- Inside collar joined for natural opening.
- Stand collar straightened, placket aligned.
- Chest wrinkles ironed out.
What to look for: A symmetrical collar, buttons neatly in a line, no halo around the shoulders.
Example 2: Hoodie / T-Shirt
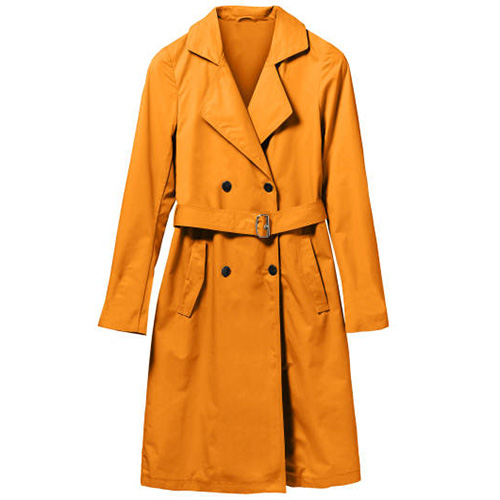
- Before: Mannequin with lopsided hood and sweatshirt on.
- After: Finished hoodie, showing inside of hood and neckline.
What changed:
- Hood inside added from a separate inside photo.
- Drawstrings positioned nicely.
- Sleeve shape balanced on two sides.
- Color is true to the cloth.
What to look for: A natural hood opening with actual depth and shadow, and an even neckline.
Example 3: Blazer or Jacket
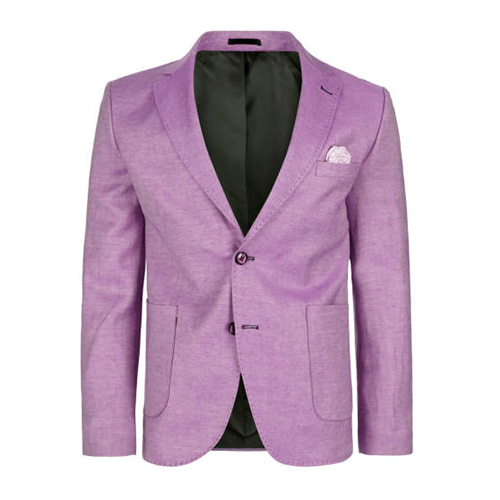
- Before: Blazer on mannequin, uneven lapels.
- After: Finished blazer, clean lapels, lining showing.
What’s new:
- Ironed and aligned lapels.
- Inner lining attached at collar.
- Symmetrical shoulder and sleeve.
- Buttons and pocket flaps tidied.
What to look for: Neat lines, a defined shoulder line and a lining that complements the outside fabric.
Example 4: Clothing
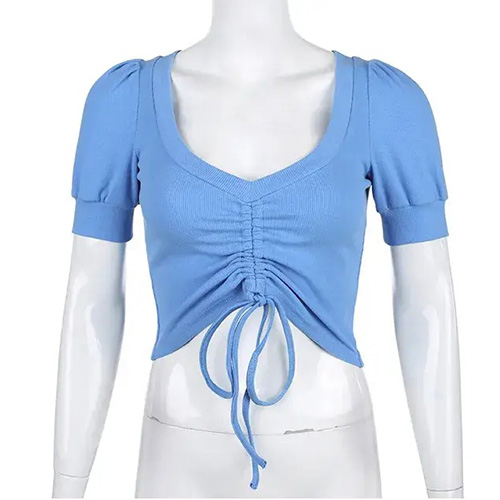
- Before: Outfit on mannequin with obvious neck and uneven waist.
- After: Finished dress with a natural neckline and balanced form.
What’s changed:
- Parts of mannequin removed from neckline and straps.
- Waist and skirt shape balanced.
- Hem pulled up.
- Wrinkles and clamp marks cleaned up.
What to look for: A smooth neckline, even straps, and a natural skirt fall.
Example 5: Detailed or Delicate Fabric (Lace, Mesh, Sheer)
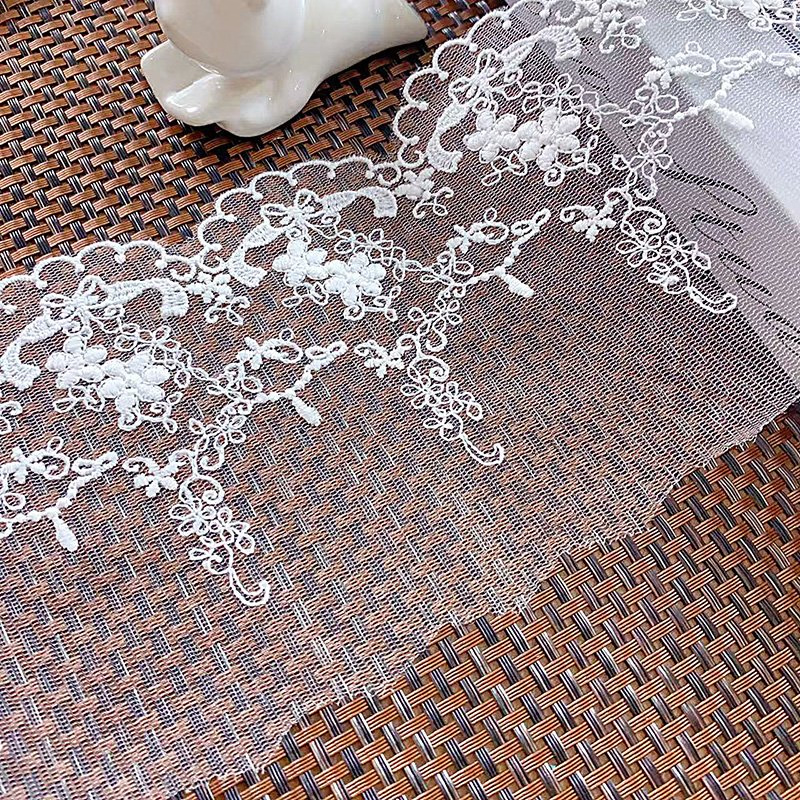
- Before: Lace top on mannequin with mannequin visible through the lace.
- After: Finished top with clean see-through areas.
What has changed:
- Mannequin removed from behind transparent areas.
- Edges cleaned, lace detail preserved.
- View from inside the neckline.
What to look for: Fine features still intact, no remaining mannequin color showing through, no rough or flattened edges. That’s when the hand work comes in most vital.
Example 6: Pants, Skirts or Bottoms
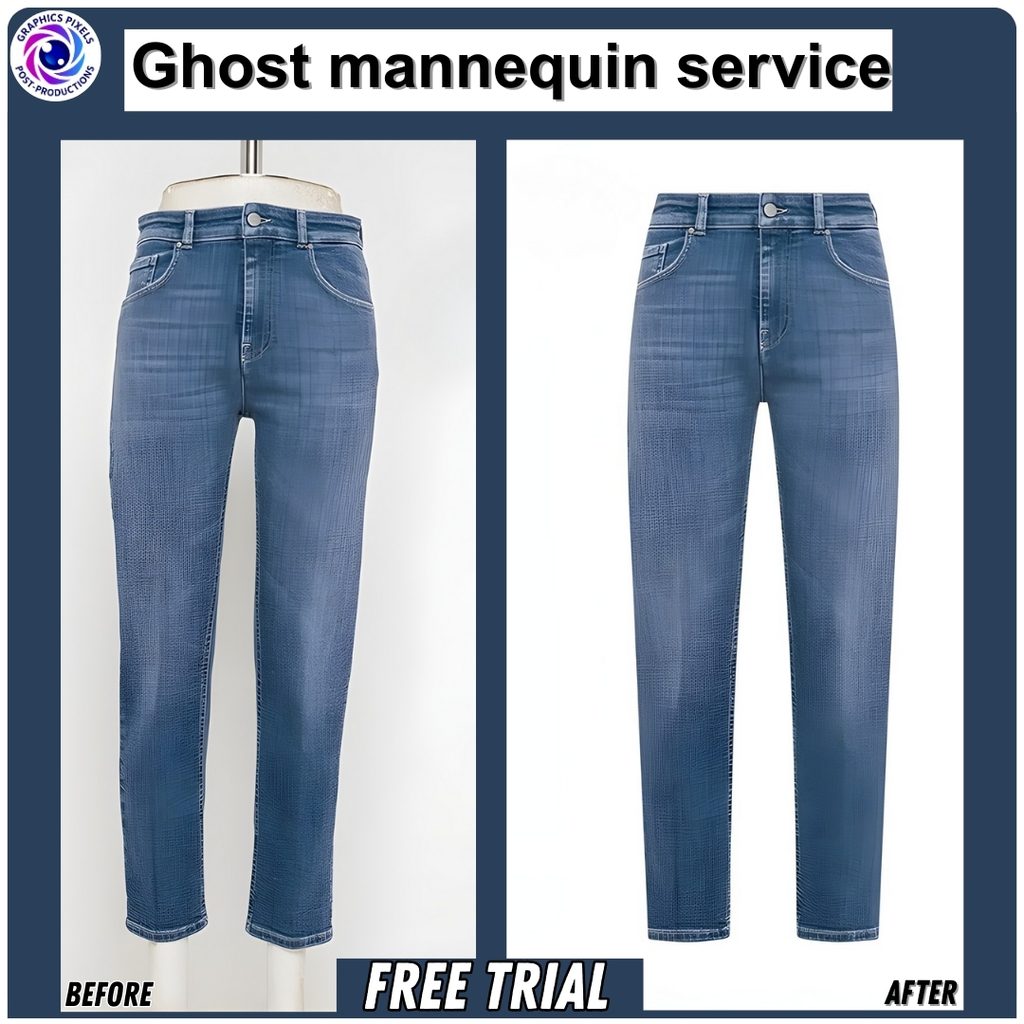
- Before: Mannequin with pants on lower half.
- After: Finished pants with natural waistband and legs.
What was changed:
- Form removed from the waist and leg openings.
- Inside waistband added.
- Leg shape and wrinkles balanced.
What to look for: A natural waistband opening and even leg proportions.
Example 7: Color Correction
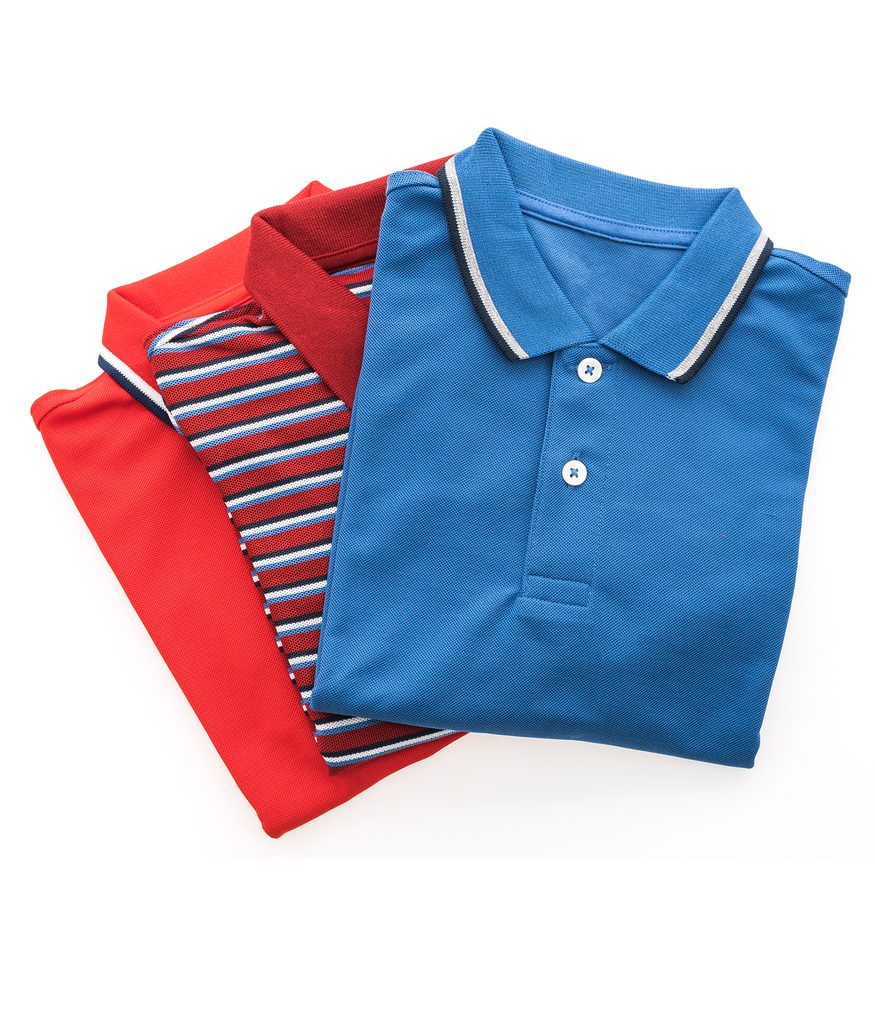
- Before: Garment with color cast.
- After: Color matched to the real product.
What changed:
- White balance restored.
- Fabric color matched to a reference.
What to look for: Colors that match the real garment, since color mismatch is a common cause of returns.
How to Judge a Good Ghost Mannequin Edit
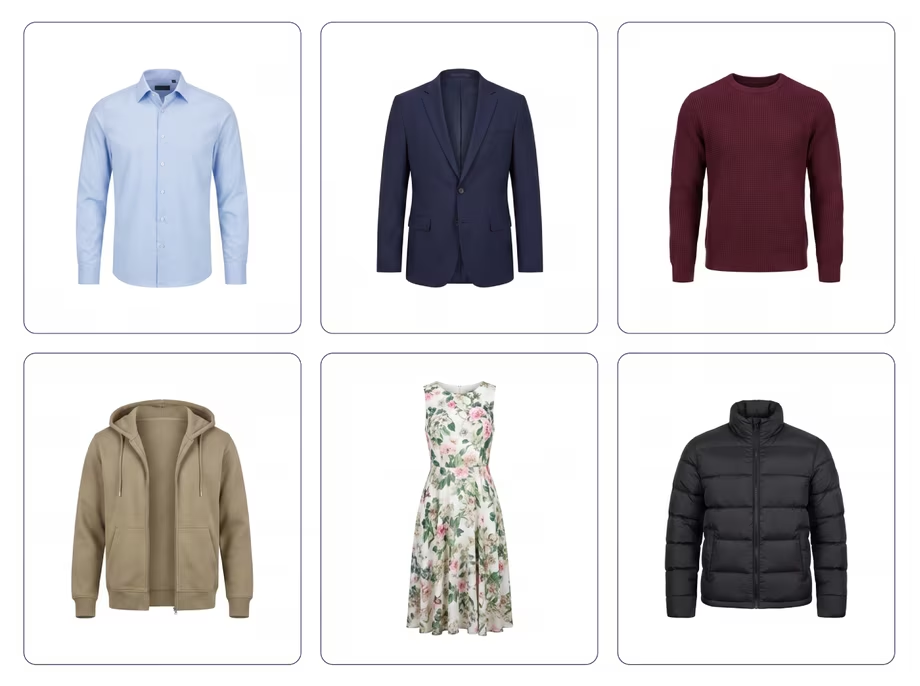
Use this quick checklist on any before/after:
- Neckline: natural, symmetrical, believable depth.
- Edges: smooth, no halos, jagged lines or leftover mannequin parts.
- Shape: even shoulder, sleeve, and hem.
- Texture: cloth detail still evident, not over-smoothed.
- Shadows: constant and natural inside the collar and apertures.
- Color: matches the real garment.
- Consistency: appears like it belongs with the rest of the catalog.
If a sample passes these checks at 100% zoom, the work is likely solid.
What Makes the Difference Between Average and Great Results
- Source pictures: Consistent lighting, steamed apparel, and matched inside images make the edit faster and cleaner.
- Manual precision: Careful cutouts around collars, sleeves, and fine fabrics avoid rough edges.
- Light matching: The inside shot has to become one with the outside one.
- Attention to detail: Small things like button alignment, hem lines and symmetry all add up.
- Continuity: A uniform style across all products increases trust in the store.
See It on Your Own Garments
The best test is your own product. Our ghost mannequin service offers a free trial. Send a few images, compare the before and after against the checklist above, and decide whether it meets your standard.
You can also read our guides on how to shoot clothing for ghost mannequin editing and how neck joint editing works to prepare better source files.
Final Thoughts
A good ghost mannequin edit is almost invisible: the garment simply looks clean, full, and natural. Looking closely at before and after examples helps you recognize quality, brief an editor clearly, and spot problems before they reach your store.
Frequently Asked Questions (FAQ)
Q: What does a ghost mannequin before and after show?
It shows the raw photo of a garment on a mannequin next to the finished image where the mannequin is removed and the inside areas are joined, so the garment looks worn but hollow.
Q: What should I look for in a ghost mannequin sample?
Check the neckline, borders, form, fabric texture, shadows, and color at 100% zoom.
Q: Can every garment be edited this way?
Most can, but structured items like shirts, jackets, and dresses usually work best. Very loose or sheer garments need particular attention.
Q: Do I need an inside shot for every garment?
It gives the most natural result, especially for the neckline. Without it, the editor must recreate the area, which is harder.
Q: Can I transmit my own photographs as a test?
Yes. Testing with your own products is the most reliable technique to assess quality and fit with your style.