

You can generate e-commerce photos with artificial intelligence (AI) tools such as Mid journey, DALL-E 3 and Stable Diffusion to save time and cut production costs. But if you want to sell on Amazon, you have to play by the rules of the marketplace to the letter. Most AI generated product photos suffer from warped product geometry, mangled brand text/logos, strange reflections, non-compliant backdrops.
Amazon Suppression of Listing Due to Edited AI Photos on Amazon High Return Rates and Loss of Confidence in Customer To ensure high conversion and full compliance, e-commerce enterprises must use a professional hybrid workflow—combining AI producing speed with precision manual retouching in Adobe Photoshop.
Fix amazon products listing defect with AI? Direct Answer:
Answer: To make product photos Amazon compliant you can use Pen Tool or Layer Masks in Photoshop to isolate the defect areas. Fine tune product shapes with Liquify/Warp, remove unwanted backdrops with a precise Clipping Path to match Amazon’s pure white background standard (RGB 255, 255, 255), fix damaged logos with sharp vector type and smooth erratic surface lighting with frequency separation.
1. Amazon Pure White Background 100% Requirement
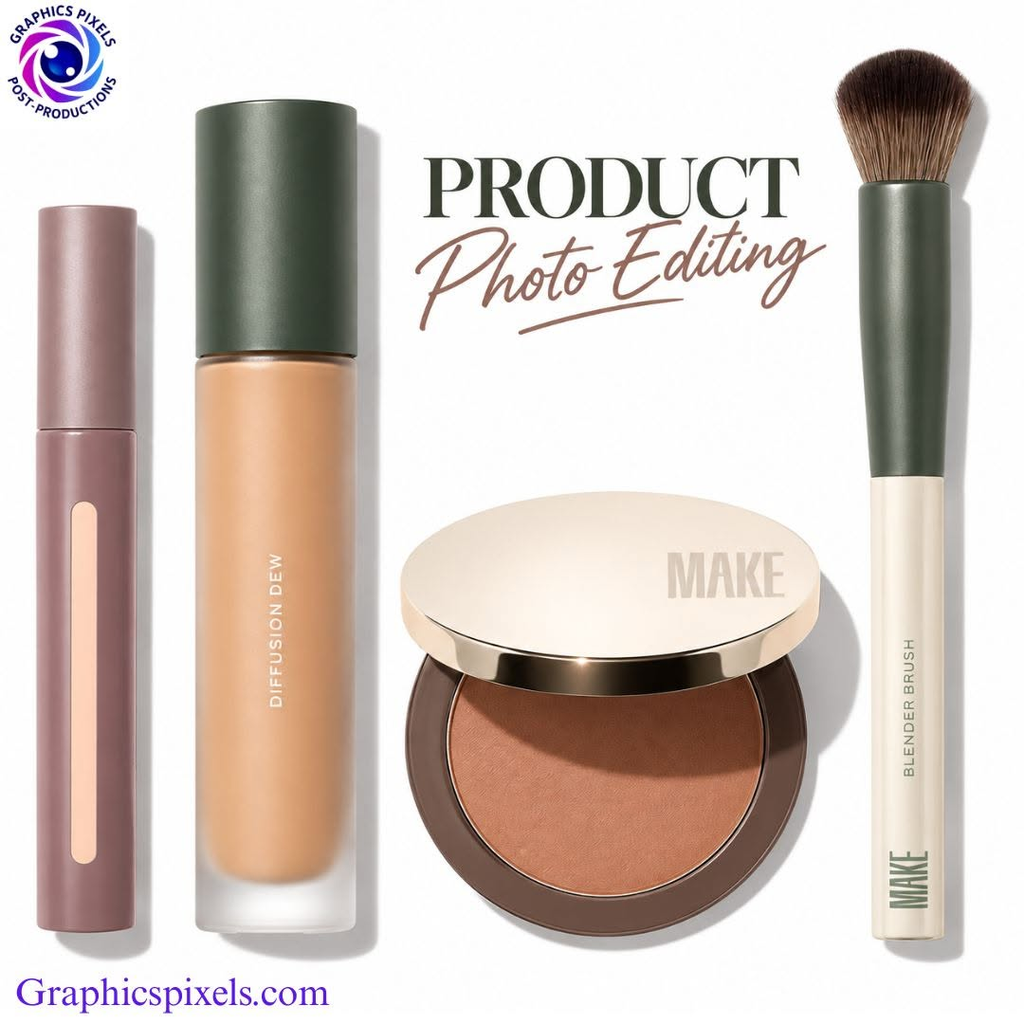
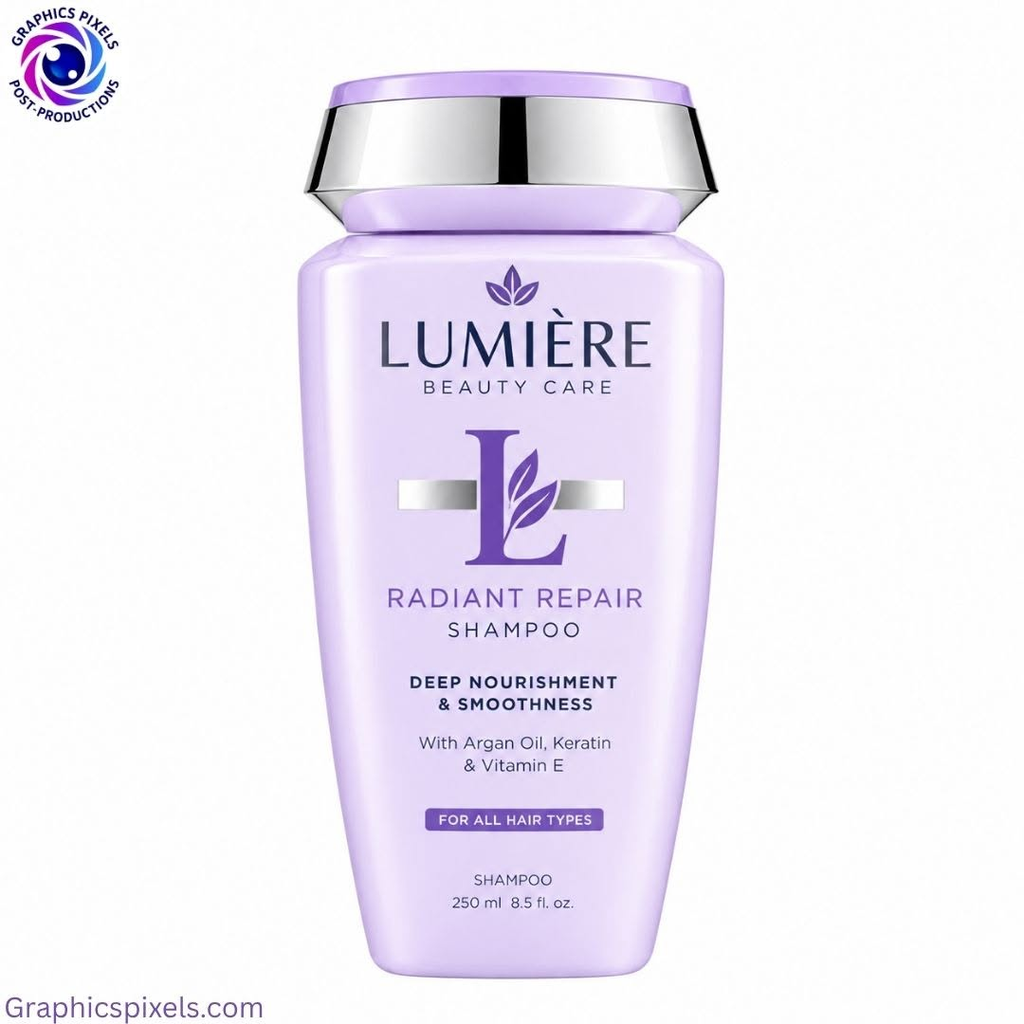
Amazon’s main image policy states that the main product image must be placed on a pure white background (RGB 255, 255, 255). AI picture makers tend to do backgrounds that are off-white, light grey or some shadow (e.g. RGB 250, 248, 245).
- Divide the Product: Using the Pen Tool (P), draw a hand drawn vector Clipping Path around the product. That gives you clean razor sharp edges with no fuzzy pixel halos.
- Change Background: Place the cutout over a solid fill layer with a pure white colour ( #FFFFFF, RGB 255, 255, 255 ).
- Add Grounding Shadows: This will help to make the product look less like it is just floating there. Add a soft drop shadow or contact shadow by painting soft brush layers set to Multiply with low opacity (15-25%).
2. Correcting Warped Logos, Brand Names and Product Text
Generative AI produces text as decorative pixels, not as recognisable fonts, so logos are mangled and typefaces on packaging are unreadable.
- Mask Out Glitched Text: Using a non-destructive Layer Mask, hide the glitched text on the packaging.
- Background surface reconstruction: Patch Tool or Content-Aware Fill Remove the bad text but leave the original package gradients, textures or paper grain.
- Overlay Vector Typography: Find the exact font for your brand, retype the text with the Horizontal Type Tool (T) and add matching layer styles (inner shadows, or embossing or satin overlays).
- Match Curve & Perspective: Use Edit > Transform > Warp or Perspective to easily wrap text around bottles, boxes or curved surfaces.
3. Correcting structural deformities and symmetry problems
Artificial intelligence algorithms often distort straight lines, asymmetric handles, bottle caps or geometric proportions of objects.
- Guides Help with Symmetry: Use the vertical and horizontal Rulers (Ctrl+R) to see if symmetrical items (like perfume bottles, cookware or bags) are aligned.
- Liquify to reshape Filter: Open Filter > Liquify (Shift+Ctrl+X) and use the Forward Warp Tool or Reconstruct Tool to fix crooked caps, straighten warped seams and restore real product shape.
- Source replacement: If a feature is completely unidentifiable (e.g. a zipper or button), composite a clean stock or studio asset into the layer using Layer Blending and cut it out.
4. Fixing unnatural surface lighting & ‘plastic’ reflections
AI-generated metal, glass and plastic surfaces tend to have messy reflections, blotchy highlights or appear like unnaturally smooth plastic.
- Smooth Lighting Gradients (Frequency Separation): Separate color/tone from surface roughness For the low frequency layer, you could try a light gaussian blur, or use a Mixer brush to smooth out blotchy lighting gradients.
- Restore Surface Grain: Bring back real material textures (leather grain, brushed metal, fabric weave) to the high frequency layer using subtle noise overlay masks.
- Less metallic highlights: Clean highlight stripes with vector shapes. For professional studio softbox lighting, you can use Gaussian Blur and set Opacity between 20% and 40%.
Amazon AI Image Fix List
| Problem Type | AI Generated Defect | Photoshop Fix Technique | Amazon Compliance Background Goal |
| Background | Light, grey or noisy background. | Pen Tool Clipping Path + Pure White Layer | 100%#FFFFFF Amazon Main Image specification |
| Logos & Text | Text garbled, unreadable packaging | Content-Aware Overlay Fill + Vector Type | Brand Presentation Clear & Concise |
| Product Shape | Asymmetrical bottles, rough edges | Liquify Filter + Transform Warp | Realistic 3D product geometry |
| Reflections | Plastic/blurry highlights, fake look | Studio Highlight Frequency Separation + Vectorisation | upscale photorealistic studio finish |
Amazon Listings Scale Images Pixels
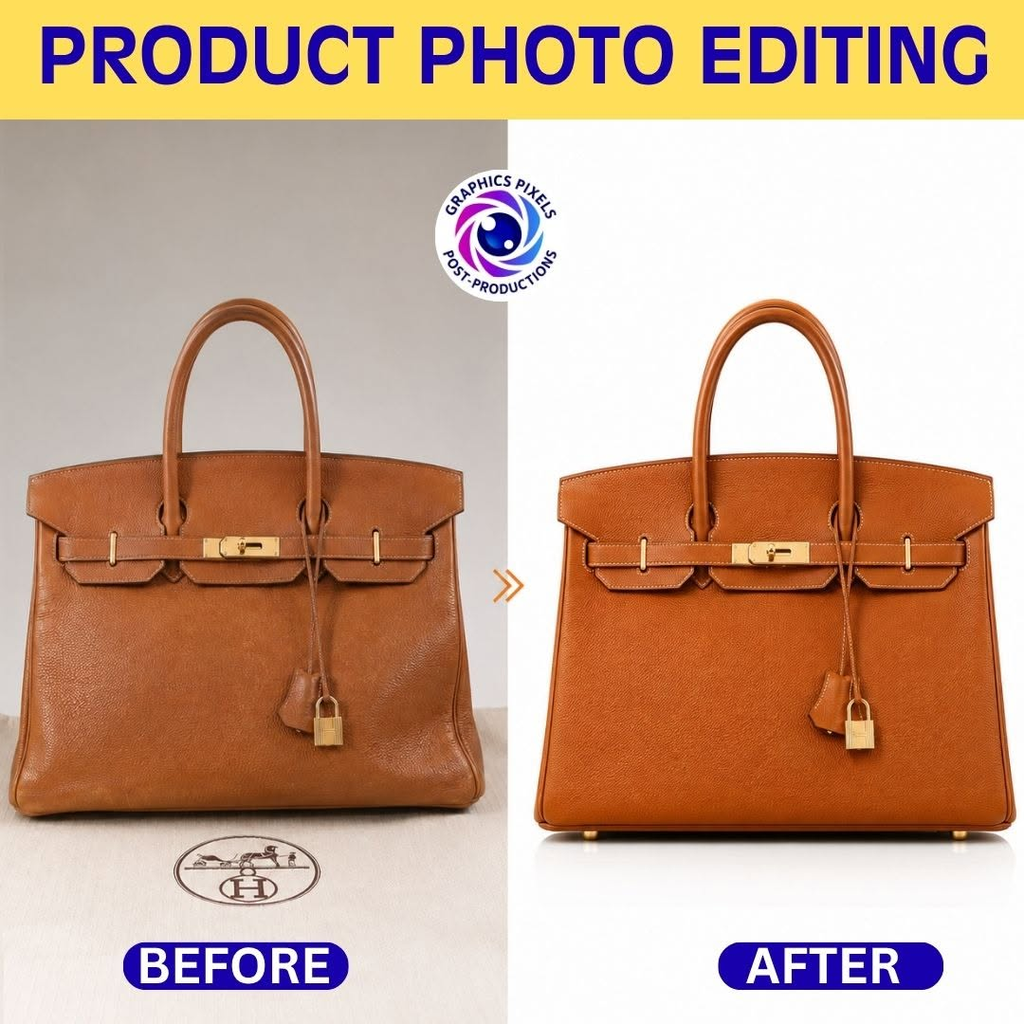
Don’t risk listing suppressions or high consumer return rates with raw AI outputs. Graphics pixels – Amazon compliant product graphics and high converting assets of AI generated assets through our professional retouching services like Clipping Path, Image Masking and AI Image retouching services.
Want to boost your Amazon conversion rate?
Upload Your Photos & Get 1 Hour FREE Trial NOW