
Awesome platforms for AI generated images like Midjourney, DALL-E 3 & Stable Diffusion for art scenes, lifestyle ideas, product backgrounds and more. But if it’s text, brand logos or product labels, generative AI is always wrong. The AI models do not “understand” language or vector type. They predict visual representations from image pixels. They then render text as garbled unreadable squiggles and warp brand logos.
Misrepresenting your brand in your product images can destroy customer trust and kill your e-commerce conversion rates. The professional approach is a hybrid restoration workflow: AI text glitches manually cleaned up in Adobe Photoshop and replaced with crisp, brand accurate vector typography and logos.
Quick Answer: Photoshop Fix for AI-Mangled Logos & Bad Text
Quick answer: Use Photoshop’s Layer Mask feature to fix distorted logos, un-readable text in AI product photos. Delete the broken AI characters and use Content-Aware Fill or Generative Fill to fill in the background of the packaging. Finally, overlay sharp, true vector logos or native fonts distorted using Edit > Transform > Warp, aligned to the perspective of the product with the Type Tool (T).
Step 1: Delete & Destroy Corrupted AI Text
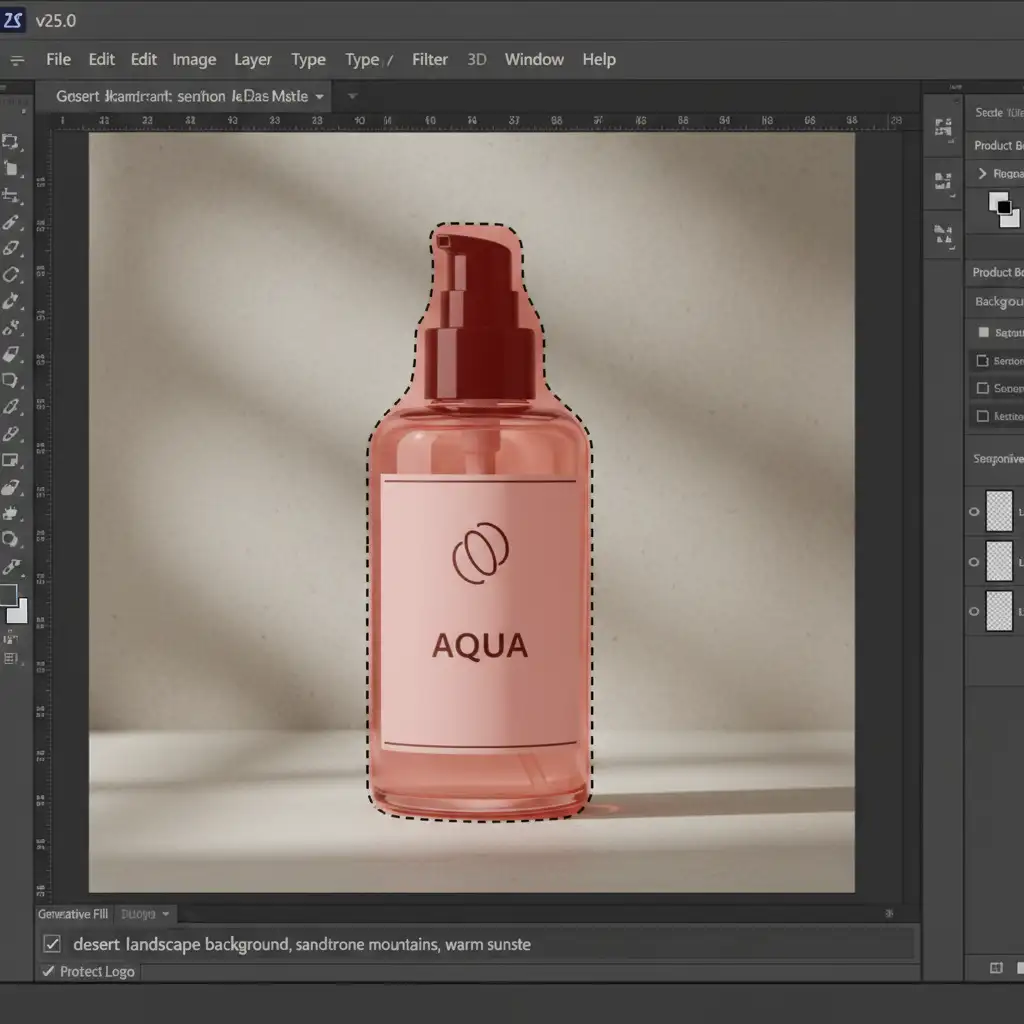
The text in your image is fuzzy and AI generated . You need to get rid of all the distorted characters before you can put a clean logo or label on it. But without destroying the underlying product texture or the lighting gradients.
- Create a (Non-Destructive) Mask: Choose the layer with your product image and click Add Layer Mask.
- Choose the Glitched Zone: Use the Lasso tool (L) or Marquee tool (M) to roughly select the letter or logo you have warped.
- Rebuild The Surface: Use the patch tool or Edit > Content aware fill and sample clean textures of packaging from the surrounding area. It smoothes the background and takes out the bad typography but preserves the grain of the paper, the plastic shine or the metallic reflections.
Step 2: Find and Prepare Official Vector Brand Assets
Original High Resolution Convert AI Text to Vector Assets Do not use low res PNG or JPEG it will pixelate when scaled up.
- Use Vector Graphics: ALWAYS UPLOAD YOUR OFFICIAL LOGO IN SVG, EPS OR AI (ADOBE ILLUSTRATOR) FORMAT.
- Missing Fonts: If you have to retype product descriptions, ingredient lists, or titles, find out the exact font family. Match typography to original brand style guides with Photoshop’s Type > Match Font tool, or tools such as WhatTheFont.
- Convert text to Smart Object via Place Embedded (File > Place Embedded): Bring in your retyped text or vector logo as a smart object. With Smart Objects you can scale and distort assets as much as you want without losing the quality of the original image.
Step 3: Viewing, Warping and Packing Related Curves
A plain 2D logo on a 3D curved bottle or box will appear fake. The restored typography will have to fit the physical shape of the product and the angle of the camera.
- Perspective correction (Edit > Transform > Perspective or Distort): Drag the corners of the logo to the corners of the box or the angles of the bottle.
- Warping on a curved mesh: If you have a cylindrical or round object, such as a can, bottle, or tube, choose Edit > Transform > Warp. Adjust the control handles so you have a nice curve to which the text grid can adhere to the natural curve of the product.
- Displacement Maps (Advanced, 3D Wrapping): Create a greyscale for complex fabric folds or textured package Map the product surface and use Filter>Distort>Displace for perfect wrap around surface ridges.
Step 4: Combining Surface Lighting, Highlights and Shadows
To get the restored vector text to look like it was printed on the product in the first place you have to add studio lighting and material reflections.
- Set the blending mode of the typography layer to Multiply (dark text on a light background) or Screen/Linear Dodge (white or light text on a dark background).
- Noise Matching and Opacity: Lower the opacity of the layer a bit (to 90-95%) so the subtle packaging texture of the background packaging will show through. Add a small Gaussian Noise filter (0.5-1%) to mimic the grain of the camera sensor;
- Add Material Effects: Add a subtle Inner Shadow (for embossed text) or Bevel & Emboss (for raised metallic/foil labels) using the Layer Styles (double-click the layer).
AI Typo & Logo Photoshop Cheat Sheet
| Defect type | Corrupted AI bug | Photoshop Restoration Method | Result Commercial Content-Aware |
| Illegible squiggly characters | Bad AI Text | Content-Aware Fill + Vector Text Overlay | Product label that is legible and clear |
| Wrong icons, bent shapes | Warped logos | Real Brand Logo + Smart Object + Transform Warp | 100% Brand Accurate Vector Logo |
| Flat Design | Logo looks glued | Layer blending (multiply) + displacement map | Smooth photo realistic surface integration |
| AI corrects brand colours | Color not matching | HEX / Pantone Code + Solid Colour Fill Layer | Excellent brand colour consistency |
AI Image & Logo Restoration Commercial Quality?
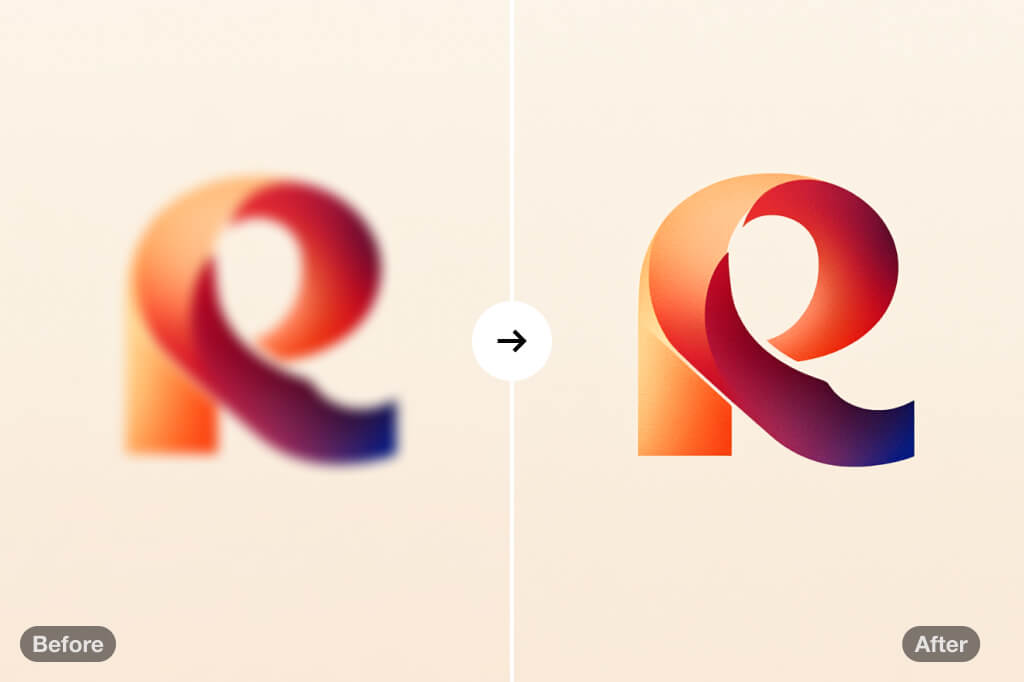
Correcting AI typography errors on dozens or hundreds of product images involves painstaking photoshop work, advanced retouching skills. Our expert team of editors at Graphics Pixels will turn raw AI output into commercial product photos ready to go to Amazon, Shopify and print.
AI Image Artefact Correction, Clipping Path Services & specialist Image Masking. Hand built precision in 24 hrs.
Updated: October 2026
Upload your files today and rate 1-Hour Free Trial Project!