
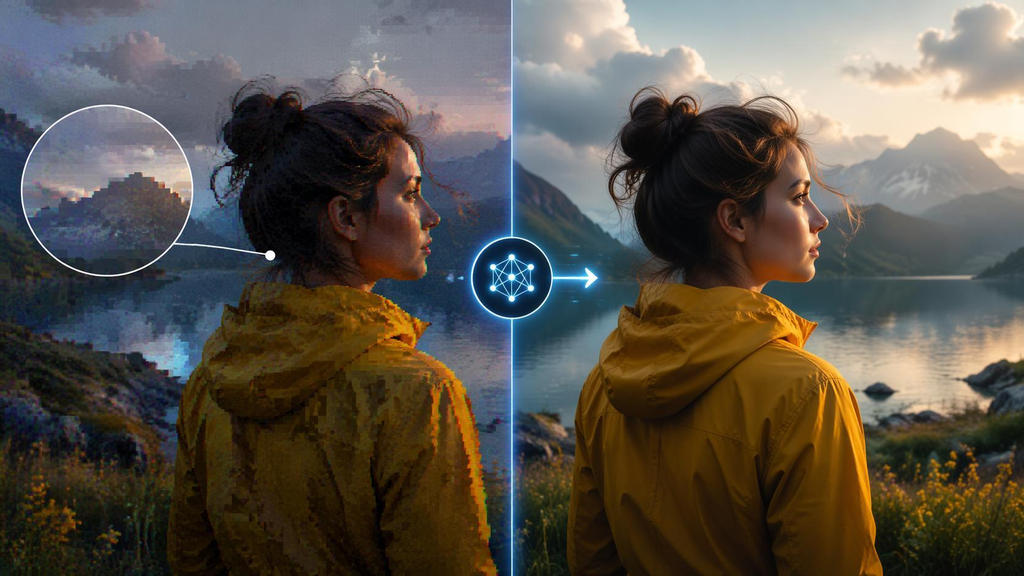
As such, e-commerce brands, digital marketers and agency workflows are increasingly turning to AI image generators like Midjourney, DALL-E 3 and Stable Diffusion to generate visual content.
Generative AI is fundamentally broken with severe AI image artefacts such as mutated extra fingers, plastic ‘synthetic’ skin textures, distorted geometry and illegible text gibberish.
These very specific bugs are hard to fix by just re-prompting the AI generator and often break things that worked fine before. The best professional solution is the hybrid editing workflow. So you keep the basic design but people fix the errors in the AI output with Adobe Photoshop.
Direct Repair Guide for AI Generated Image
Answer: If you don’t want to regenerate the prompt, you can easily isolate the corrupted area of the AI image with the Pen Tool or Layer Masks in Photoshop.
You can fix hand & finger anatomy with manual clone, Liquify filter or source blending. Conceal plastic. Smooth. Frequency Separation for reconstructing micro-textures. Replaced broken AI text with clean vector typography on a filled background.
1. Correcting Warped Hand Anatomy & Additional Fingers
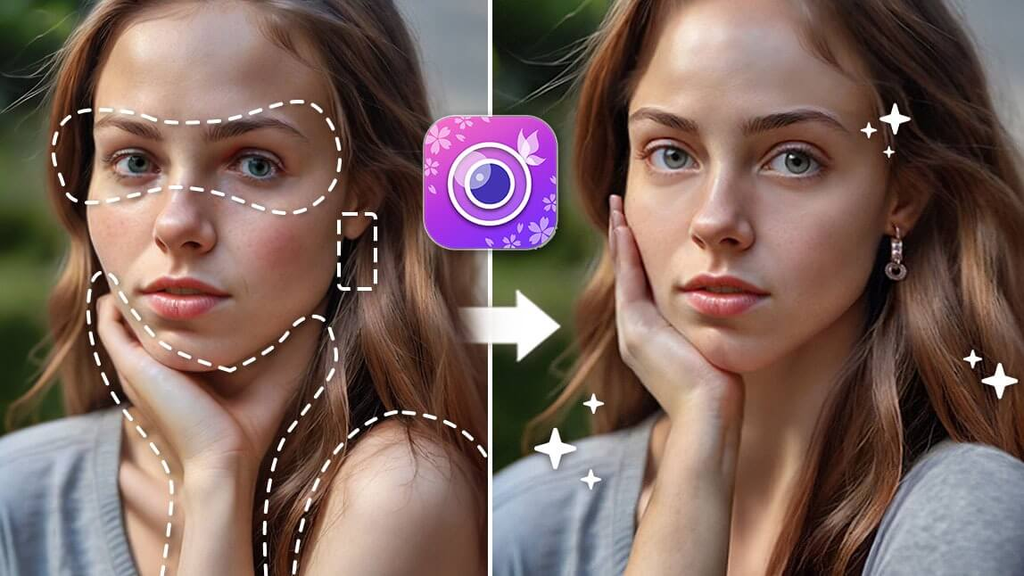
Hands and fingers are the most common offenders for bad AI generated images.
Which is why AI often spits out hands with 6+ fingers, fused joints and impossible palm angles. It predicts pixels based on training data, not on an understanding of 3D human skeletal mechanics.
- Detect Defect: Make a clean vector selection around the extra finger / distorted joint using the Pen Tool (P).
- Delete the Extra Digit: Select the Clone Stamp Tool (S) or Healing Brush (J) and paint over the unwanted digit. Sample local skin textures for consistent lighting.
- Shape Change: Use Liquify by selecting Filter > Liquify (Shift+Ctrl+X) to change shape. The Forward Warp Tool helps to reposition misplaced knuckles, fix bent fingers and scale palms to the correct size for the anatomy.
- Source Compositing: Using Layer Masks and matching Colour Balance, badly mutated hands can be isolated and composited with a clean hand asset from a high res reference photo.
2. Correction of Skin Imperfections and Enhancement of “Plastic Skin”
It often leads to portraits with an artificial, overly smooth “plastic” skin texture, misaligned pupils or blurred facial features.
- Apply Frequency Separation: Make two layers from your image, a Low Frequency Layer (colour and tonal values) and a High Frequency Layer (texture and fine detail).
- Blend Flaws: Use the Mixer Brush or a light Gaussian Blur filter on the Low-Frequency layer to smooth out blotchy lighting and uneven skin tones without smearing surface detail.
- Add Natural Pore Texture: Use the Clone Stamp tool on the High Frequency layer to get rid of the fake digital blur with real sharp photographic skin pores.
- Achieve Facial Symmetry: Use the Lasso tool to select the crooked eyes or asymmetrical features and copy to a new layer. Scale, rotate and change opacity to make it look real.
3. Correct Warped / Unreadable AI Text
AI generators don’t think of typography in terms of letterforms, they think of it in terms of artistic patterns of pixels. And so, product labels and brand titles are frequently unreadable squiggles.
- Hide the Distorted Characters: Use a Layer Mask to hide the garbled AI text and leave the image below intact.
- Background Creation Smooth: Create a seamless background surface behind the removed text with Content Aware Fill or Generative Fill. Use the Patch Tool to repair the remaining halo edges.
- Clean Vector Typography Overprint: Find the original brand font (or use Match Font feature in Photoshop) and retype the text using Horizontal Type Tool (T).
- Match Perspective & Warp: Use Edit > Transform > Perspective or Warp to map vector text to the contours of products, the curves of packaging and the gradients of ambient lighting.
Cheat Sheet: E-commerce Brands & AI-Content Creators
| Type of Artefact | Classic AI Mistake | Photoshop Work-Around Method | Expected Outcome |
| Hand Anatomy | 6+ fingers, webbed fingers, bad joints | Pen Tool, Liquify, Clone Stamp Tool Segregation | 5 actual digits. Good anatomy. |
| Face & Skin Care | Coarse pores, bumpy eyes, plastic skin | Frequency separation and matching of features | Commercial Realistic Portrait Mode |
| Create / Text | Fake logos, nonsense, non-matching text | Vector text overlay + content aware fill | Read the Text on the Packaging |
| Edge Artefacts | Pixel Halos, Soft Edges, Colour Fringing | Defringing & Manual Clipping Path Layer | eCommerce Clean Product Cutouts |
Graphic Pixels AI Retouching Commercial Quality Solutions
AI generators can help speed up the initial ideation, but you need to be 100% perfect with e-commerce listings on Amazon, Shopify or print ads to gain trust and conversions.
At Graphics Pixels we take raw AI generated outputs and turn them into market ready visual assets.
Our professional team of image editing experts provide High-Precision Clipping Path Services, Image Masking and Custom AI Image Retouching Solutions to fix the complex AI structural faults manually.
Why You Should Add Graphics Pixels to Your AI Content Workflow
- Anatomically Correct Edits: Fixes hand, fingers and face defects perfectly without losing any original details.
- E-Commerce Standardisation: Ghost Mannequin Styling, Product Background Removal, Colour Correction.
- Fast Delivery (24 Hour): Fast scalable options for global brands, creators, and ad agencies.
Looking to take your AI content to the next level? Upload your files at graphicspixels.com.